All posts by bkrijger

Toilet Repair

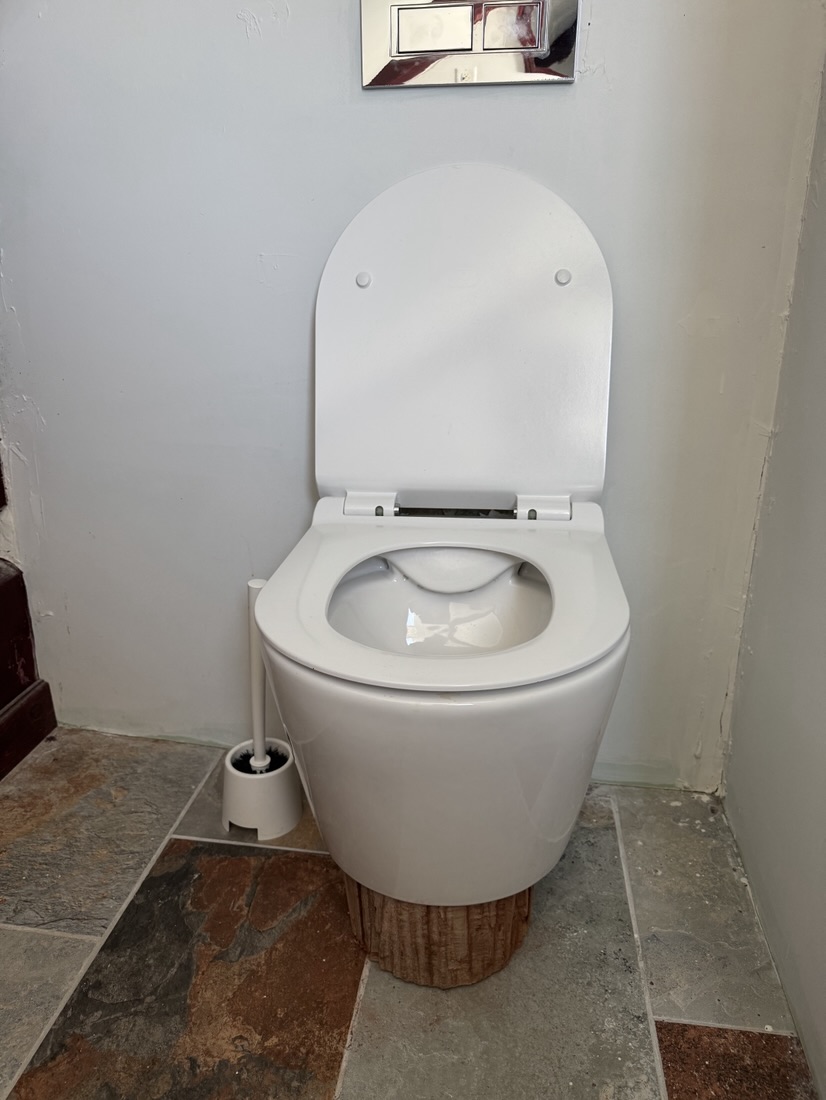
The floating toilet upstairs somehow got its support frame inside the wall bent. I suspect someone with more weight than is healthy managed to do so. In order to prevent it from bending even further, I gave the toilet trunk support;

I used the part I cut out of the wall to put the pellet stove outlet, as that has about the same curve as the toilet bowl. Although it’s no longer floating, it will support even the heaviest people.

Deck repair

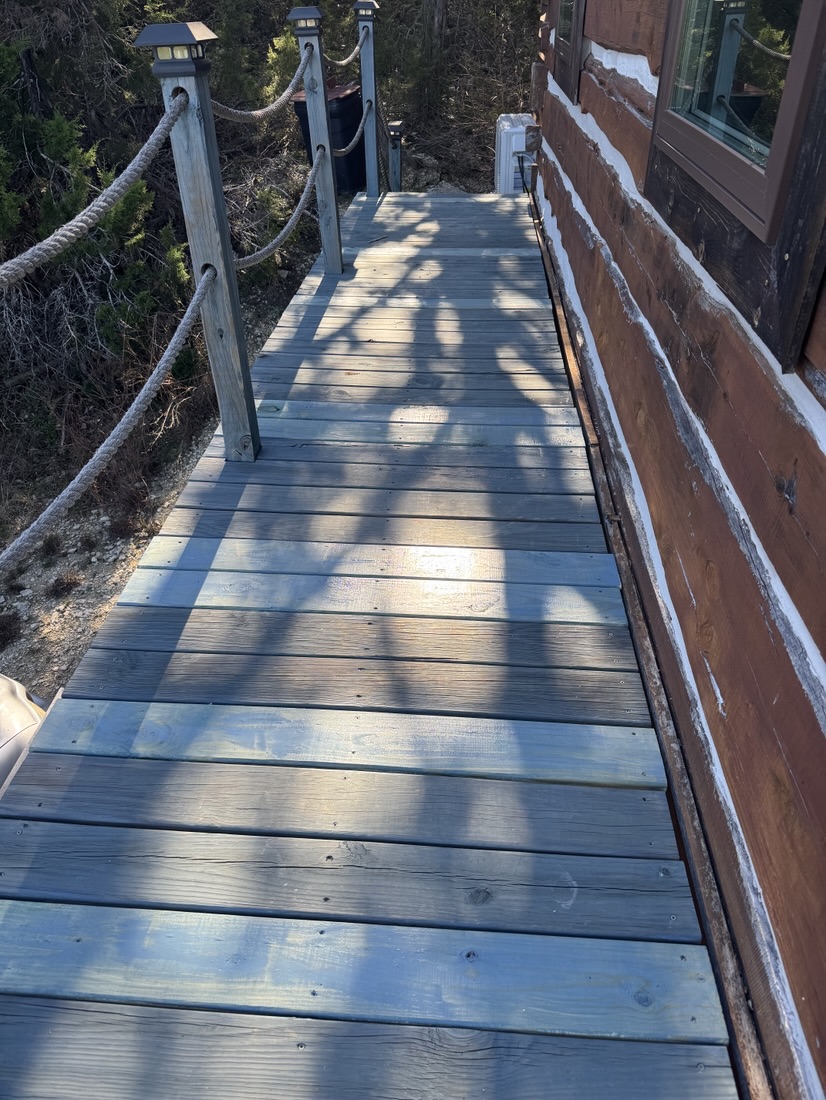
About 5 years back, there was a period with frost and the deck boards on the east side were snow/ice covered for a while. As the sun doesn’t reach there, these boards suffered more than on the other 2 decks. I replaced the boards worst damaged and gave them a Federal Blue stain coat.

The lighter ones have been replaced.

As you can see from the picture below, some really weren’t very solid anymore;

Siding Repair

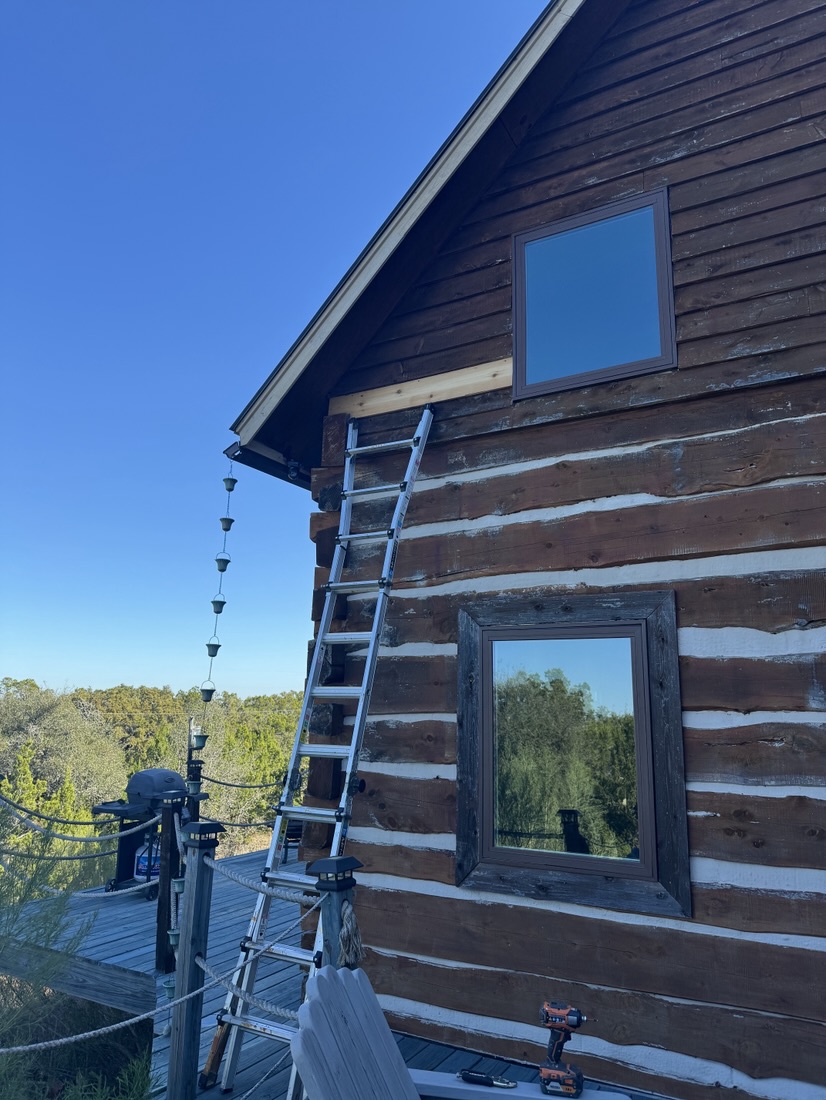
The siding boards were cut by the cabin builder Neil Buie, and some of those cedar boards weren’t top quality. So one decided to split in half. So today I replaced it with a new board.

It stands out now because it’s not stained, but as I’m out of stain that will be done next time I’m over, when I will probably give the logs a fresh coat of stain too

Home theater setup

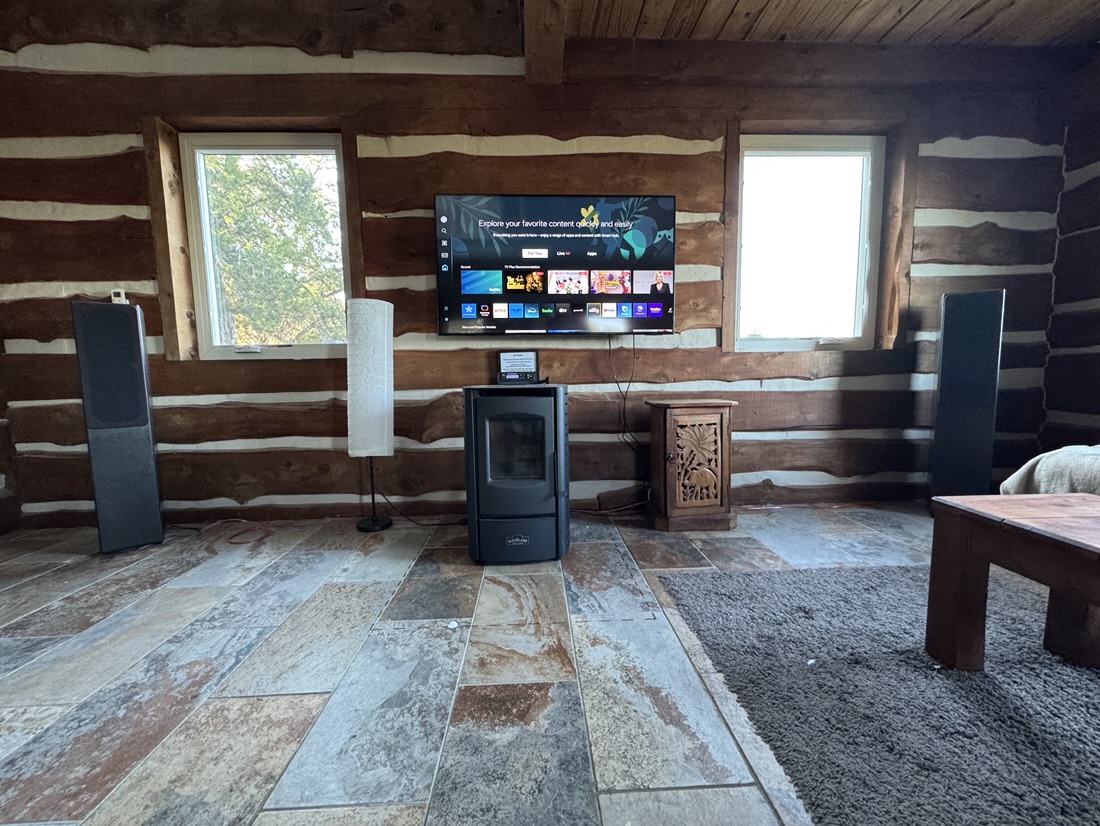
With the speakers being where they are, it was time for a home theater upgrade. The old 32 inch Samsung TV is now in the master bedroom. The new TV is 55″, which I felt was the best size considering the short viewing distance.

The TV can be rotated horizontally so that it’s good to watch from the couch and the chair.

Grilling, Routing, Sanding & Priming

The speaker kit came with grill frames have rounded corners. There’s a groove routed into them and the speaker cloth is held in place with a string that is pushed into the groove. Six magnets in both the grill and cabinet (invisible as inserted from the inside of the cabinet) hold the grill in place
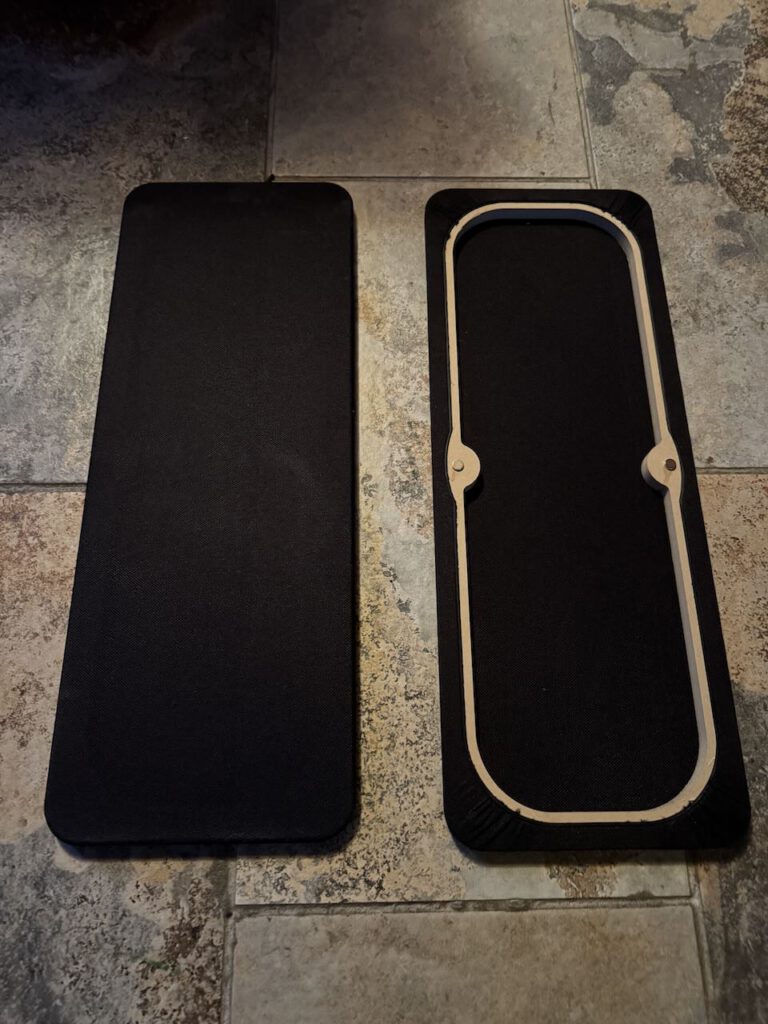
As I like the rounded corners, and don’t think a log home needs more “wood look” I will not veneer the cabinets, but chose to do some routing;
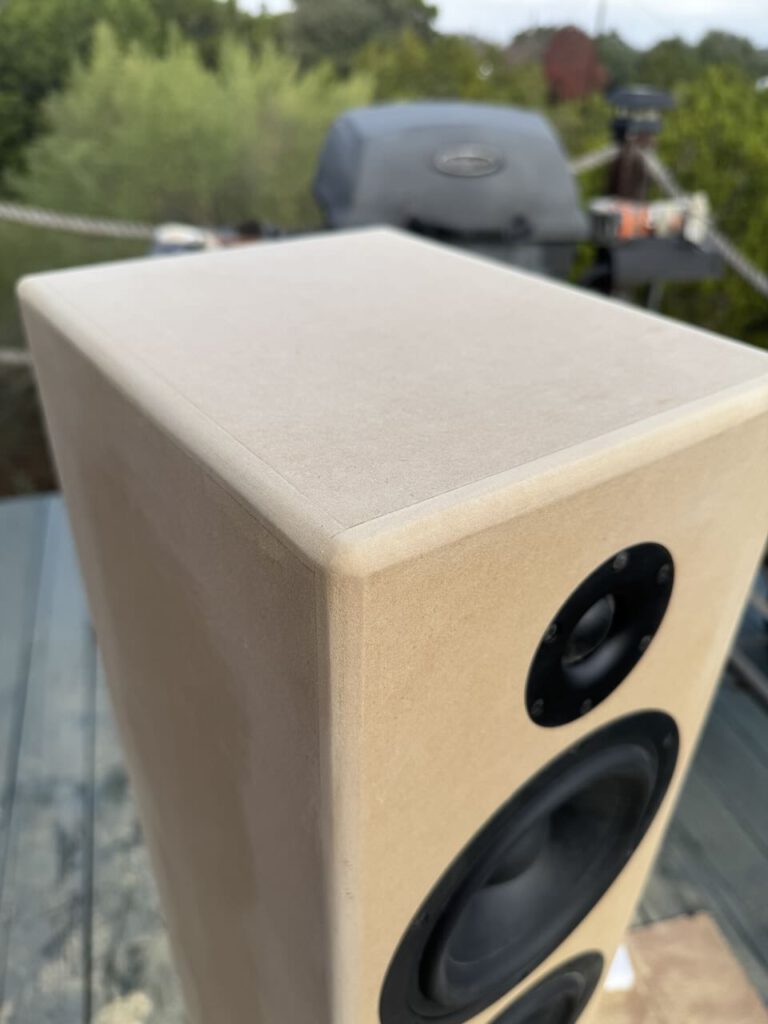
It gives the speakers a little “softer” look, and solves an issue I had with the corner of 2 panels being slightly damaged during transport of the kit to Ozuye.
After routing and sanding, it is now time for priming;|
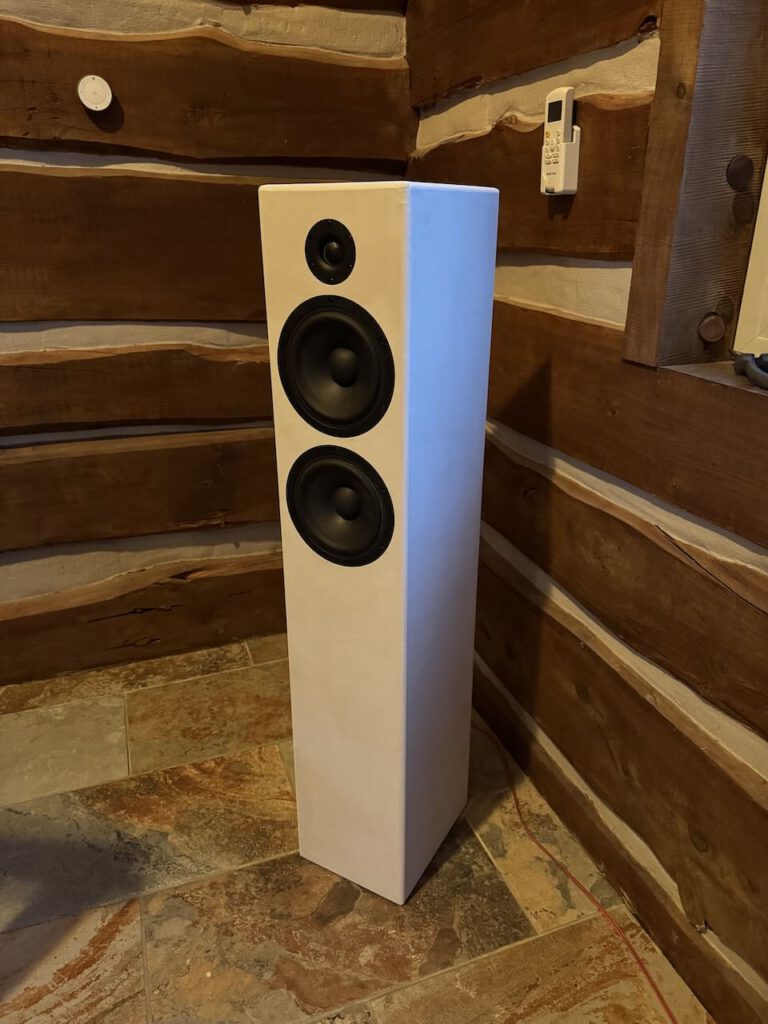
Although the white makes a nice contrast with the black speakers and grill, the speakers stand out a lot like this and the white makes them look even bigger than they already are
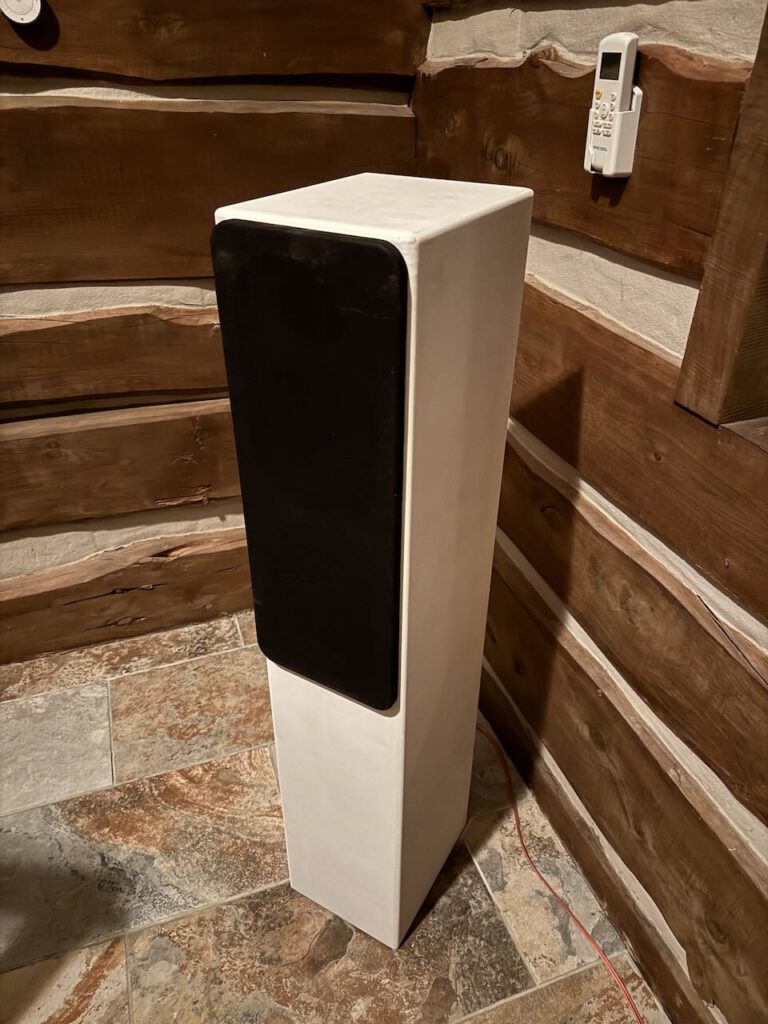
So the final color will be Onyx black. The first coating will go on later today, after sanding.


DIY Speaker Project Part 2

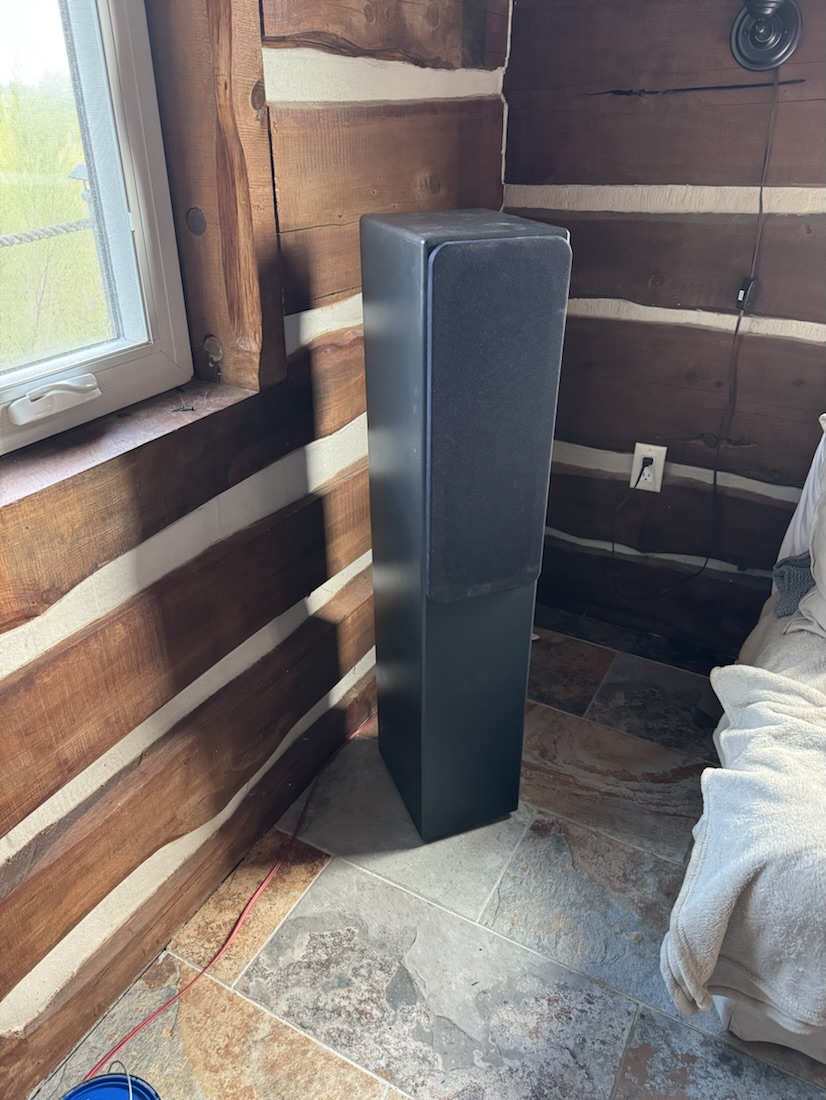
After assembly without glue to make sure everything fits snugly, the cabinets could be glued together. The front panel is in, but not glued in, as I still need to be able to work on the inside for the cross over filter and insulation.

The four band clamps work better on this size (They are 44″/ 112cm  tall)  than wood clamps.  I will let these dry overnight.

DIY Speaker Project

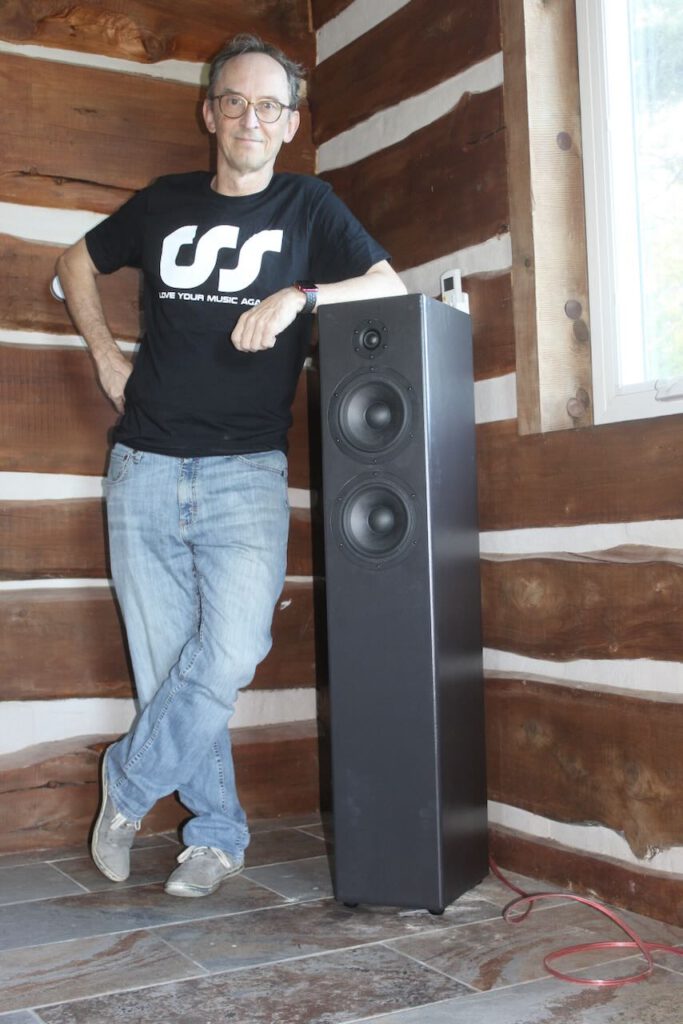
If you know me a little, it won’t be a surprise that eventually I want to be able to enjoy music at a higher quality level than my HomePod. So I ordered a DIY speaker kit from CSS Audio in Michigan. They offer complete kits with the goal to achieve higher quality by not paying for labor. The boxes arrived today:

Unboxed it looks like this.

This will end up in two two-way tower speakers.

I went for the better cross-over filter option, with serious size capacitors, coils and resistors. I could have just ordered the drawings, speakers and filters, but opted for the ready for assembly MDF kit, as in the end, this will make a more exact cabinet than I could make without a big sawing table.


Red-Tailed Hawk

Whilst I was outside on the deck, I heard a swarm of birds take off.  The reason they did was this guy (or girl, can’t tell)

It’s a Red-Tailed Hawk (according to copilot, because I just noticed it wasn’t a vulture).
They like high vantage points like my power line pole. The picture above is zoomed in as far as I could. below shows the original picture.


Small repairs

It’s normal that due to wear and tear, some work has to be done every time I’m over at Ozuye myself. This time it was limited to relatively easy jobs;

The blinds in the bathroom were damaged. Instead of replacing the entire thing, I took one of the lower blinds strips (that are never used) and put that in the spot of the missing one.

The waste bin in the kitchen had a small issue that one of the blocking screws that prevents the bin from falling out when opened was misaligned.

Some people are heavy. Too heavy. The floating toilet agreed and the steel frame it is on got slightly bend out of shape. I will place a pier underneath it, so that the force is absorbed by the floor. I wanted to replace the silicone kit on it anyway, as I accidentally used kit that dries up transparent  instead of white (Takes a week before it gets transparent)

The Hot Tub sensor ran out of batteries and lost connection to the display inside, so I replaced the batteries and now the hot tub (and inside temperature) can be read again.
(I will put it back to Fahrenheit before I leave)

The hot tub cover had been torn, and I was never completely happy with the design of the air cushion cover anyway, so I replaced it with a new universal inflatable cover, which in turn is kept in place and protected by a cover.

As I was taking this picture, I noticed a deer in the backdrop;

Having deer in my backyard reminds me I’m in the country side, not the city.