All posts by bkrijger

Pellet Stove Arrival

Today the pellet stove was delivered. It’s not installed yet, as the exhaust pipes are still underway, but this is how it will look;
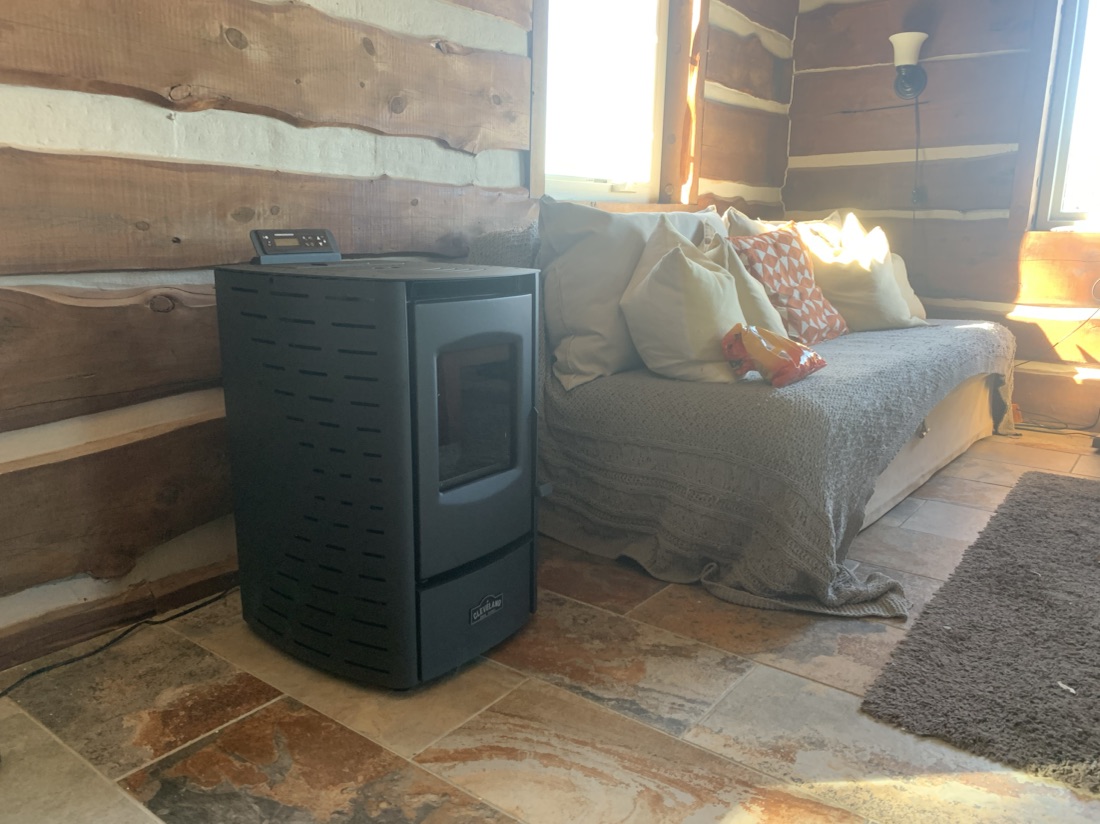
It’s not a huge one, but does come with a remote and an app, as it’s wifi connected. I chose this one because it’s compact and has the exhaust pipe low to the ground, so I don’t have to cut my way through the middle of a 7″ thick cedar wall.

It’s a little odd to be installing a pellet stove this time of year, but like they say; fix the roof when it’s dry, not when it’s raining.

The advantage of my tile floor is that it’s fire proof, so no need to put something under the stove.

The stove comes with a small fresh air hose, that will use outdoor air for combustion. The smoke exits the home through a thimble that runs through the 7″ log wall. A thimble is a double walled pipe to prevent heat coming in contact with the log wall. Once through the wall, the pipe will make a 90 degree turn up and end with a cap to prevent rain or birds entering it.

The big advantage of a pellet stove is that it burns cleaner than a wood stove, and doesn’t require a pipe that extends 3ft above the highest point of the roof, which in my case would be pretty high at around 12 meters. It’s also easier to start;

A simple press on the remote or the app will light it up and within 5 minutes the flames are full.

Then every x seconds, some pellets are dropped into the firepot by an auger.

It’s a little safer and a lot cheaper than a wood fire place, yet has a real fire. Fans blow air that passes the hot sides of the stove, and make it very efficient.

Monday I’m expecting the thimble and pipes, so then I can install it.
BBQ upgrade

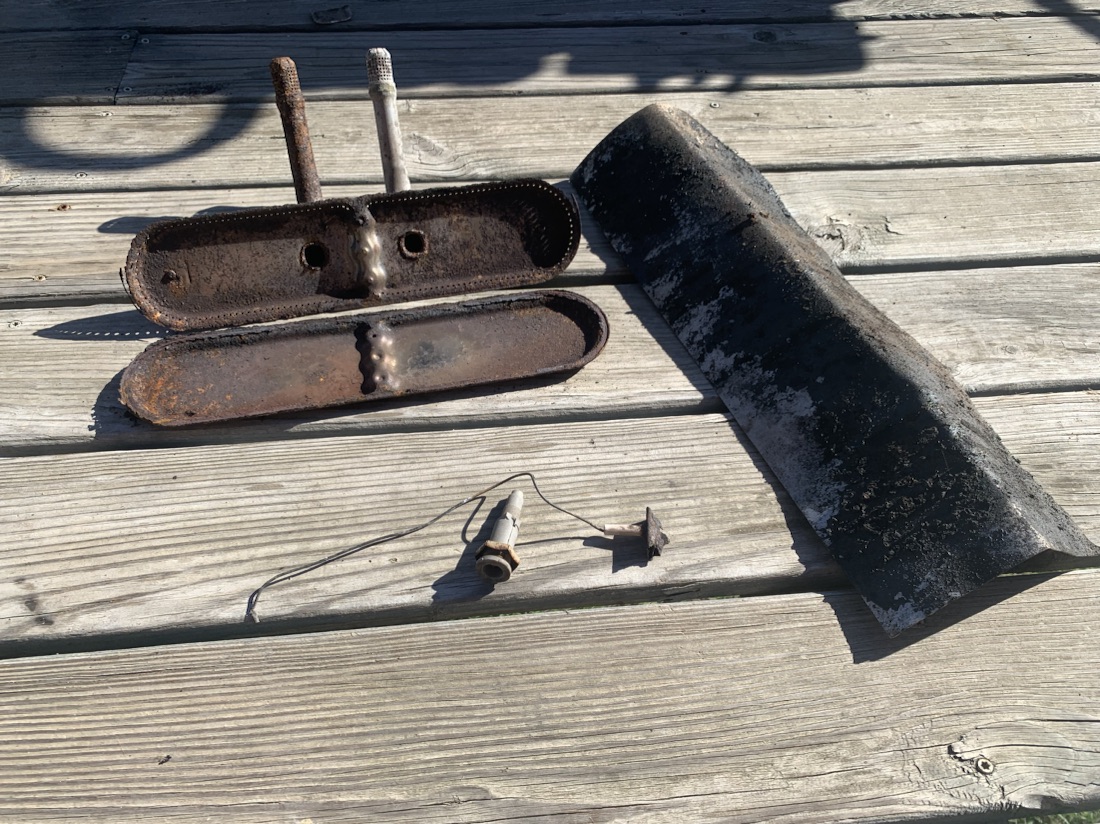
On April 1st 2017, I first used the Huntington BBQ. Two years ago I replaced the burner cover with Aluminum, as the original one had rusted away. A few weeks ago I was informed that the BBQ had stopped working, as the electrical ignition was broken. As it turned out, it was a little more work that needed to be done; the picture below explains why.

It shows what was left of the burner, ignition , and on the right the aluminum cover. So I ordered a new ignition, a new burner and a new stainless steel flame cover.

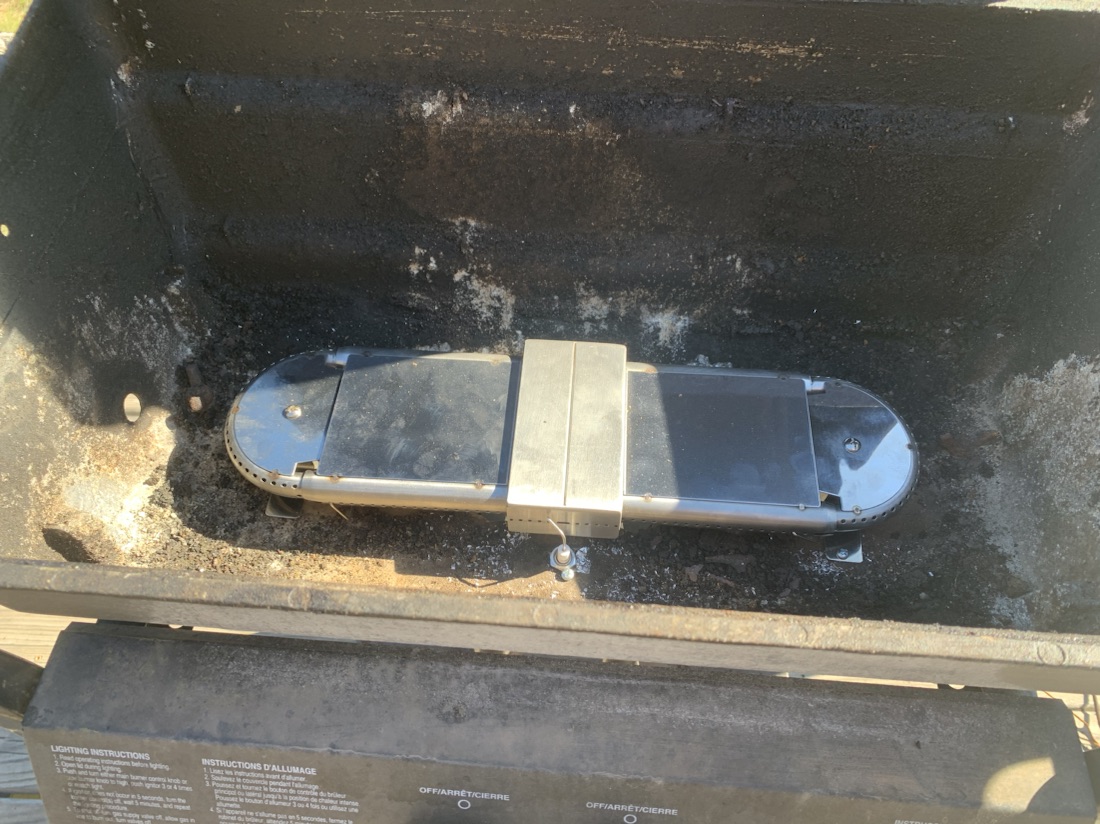
The burner is of a better quality than the original with thicker metal and partly stainless steel. The ignition is at the bottom and will ignite both left and right burners.

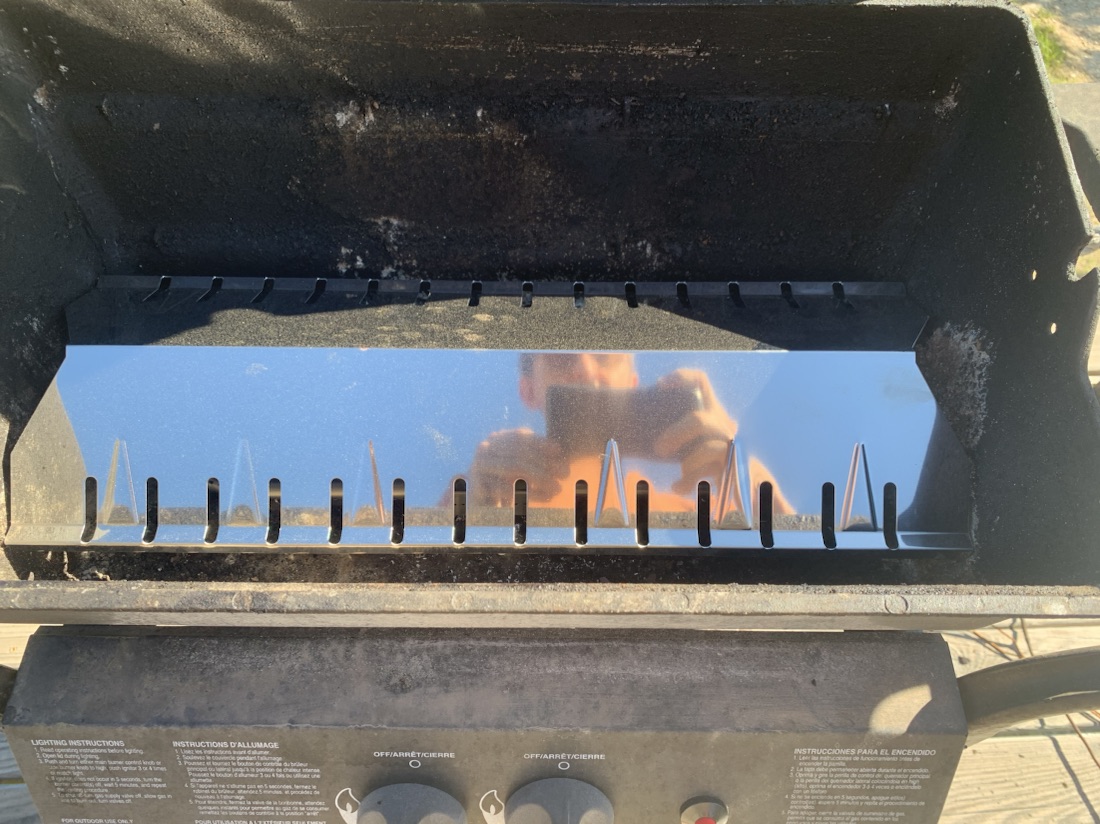
The flame cover is nice and thick stainless steel, which should last a lot longer. The vent holes will help better heat distribution.

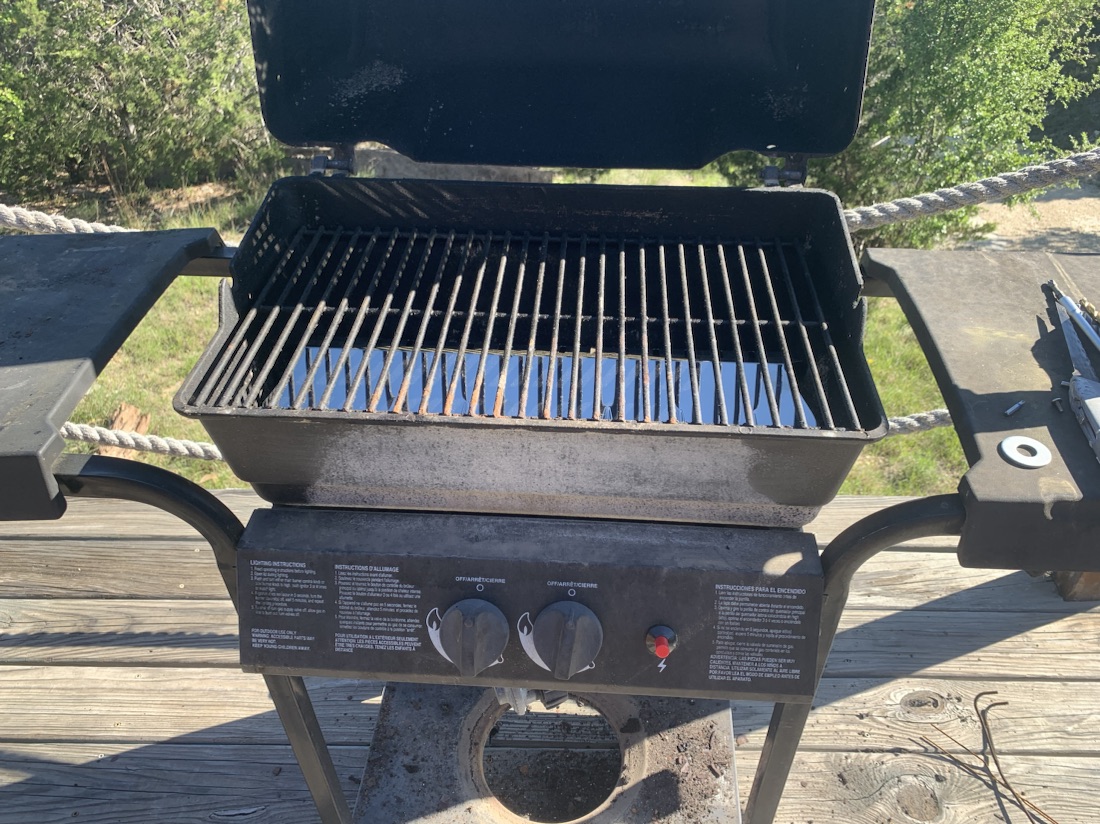
Fully assembled it looks like this. I can’t wait to initiate it with a nice big steak. šŸ„©

Never too old to learn

Last time I was over, I noticed my truck made some grinding noise when driving slow and breaking. It was coming from the rear on the right side. So I ordered some new brake pads to replace the old ones. I never worked on anything mechanical on my truck so I figured I’d be able to šŸ˜‰

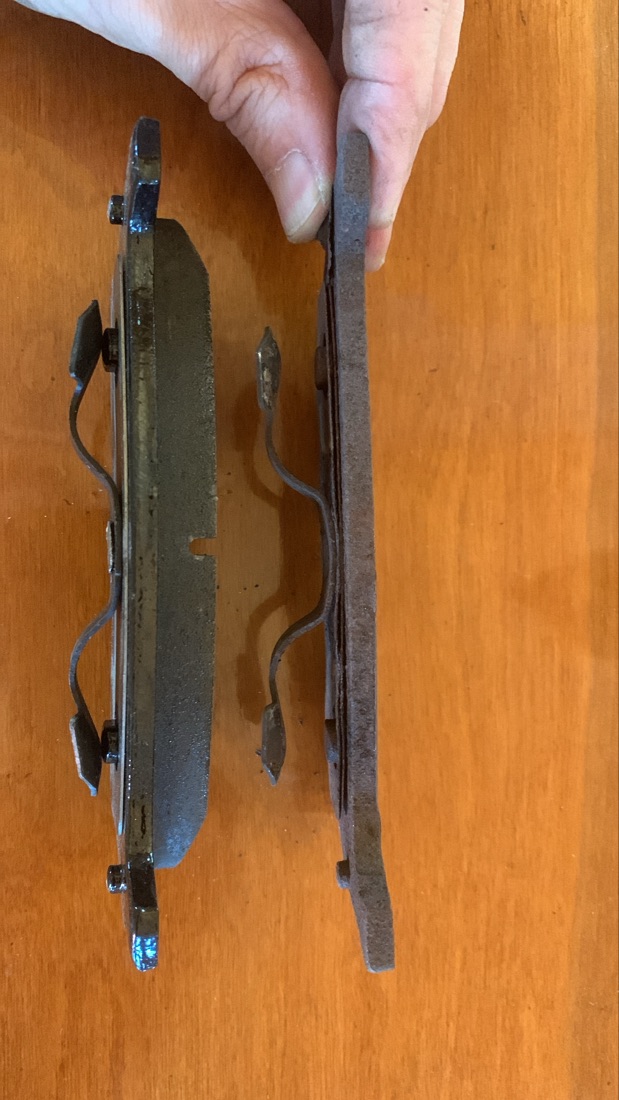
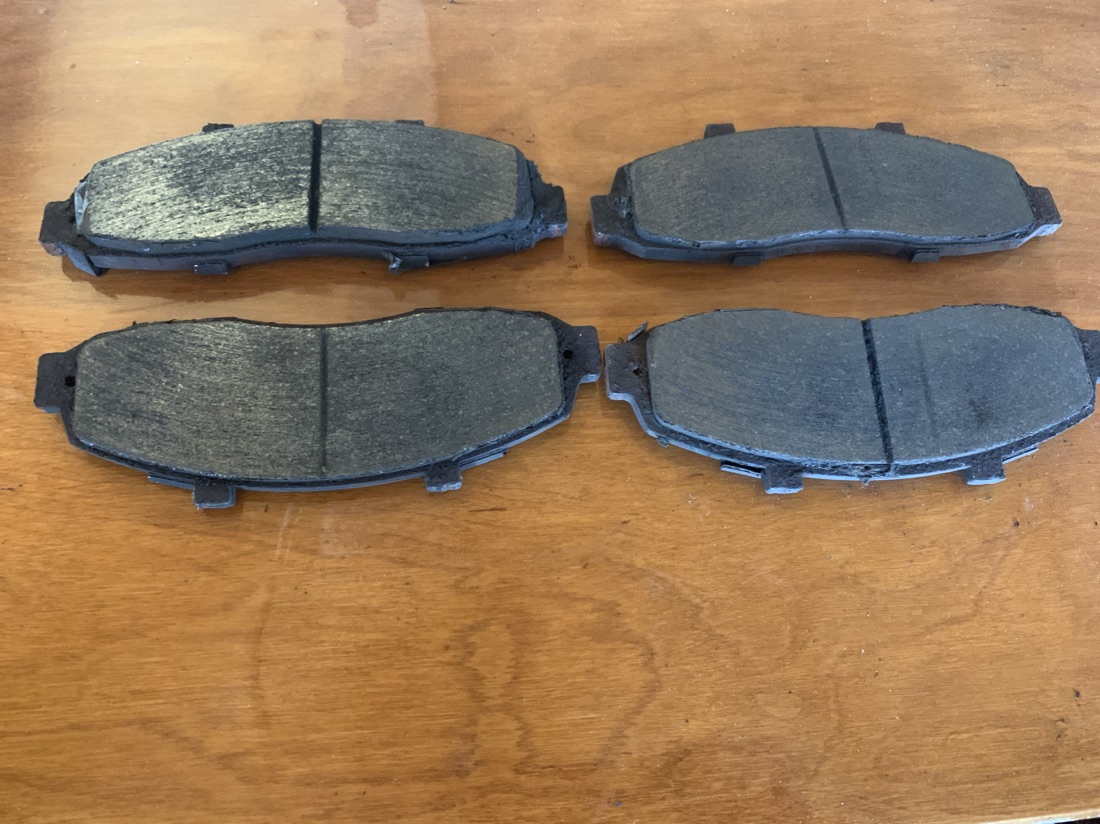
Turns out it was (over)due;

The one on the right is the old one I took out. It was down to 0, so breaking was metal on metal.

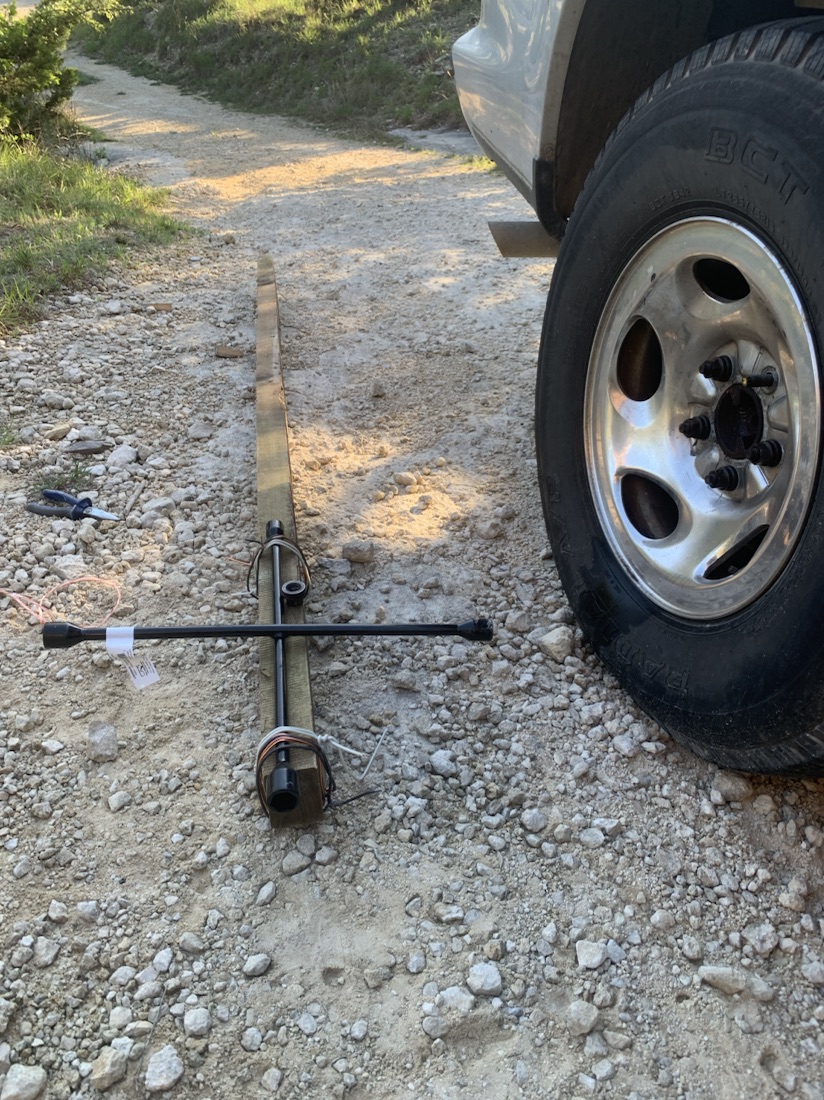
My truck did still have a Jack, but no lug wrench, so I ordered one. Getting the wheels off was no easy task; jumping on the wrench with my full body weight (which at 70kg is a modest weight, admittedly) none of the nuts would give. Being not strong nor heavy, but luckily also not stupid, I extended the arm of the wrench, after which the nuts came off easily.

It can be so convenient to have an engineer’s brain and not two left hands.

The left rear wheel went a lot faster, and the pads weren’t as worn either. I guess even breaks are right oriented here šŸ¤£

Now the car runs silent again and the breaks definitely work better. Friday I will receive the front wheel break pads, and I’ll inspect and if needed replace those. They likely have been replaced before, but from the looks of it, the pads on the rear were the original pads from 2001!

Sliding Smoothly

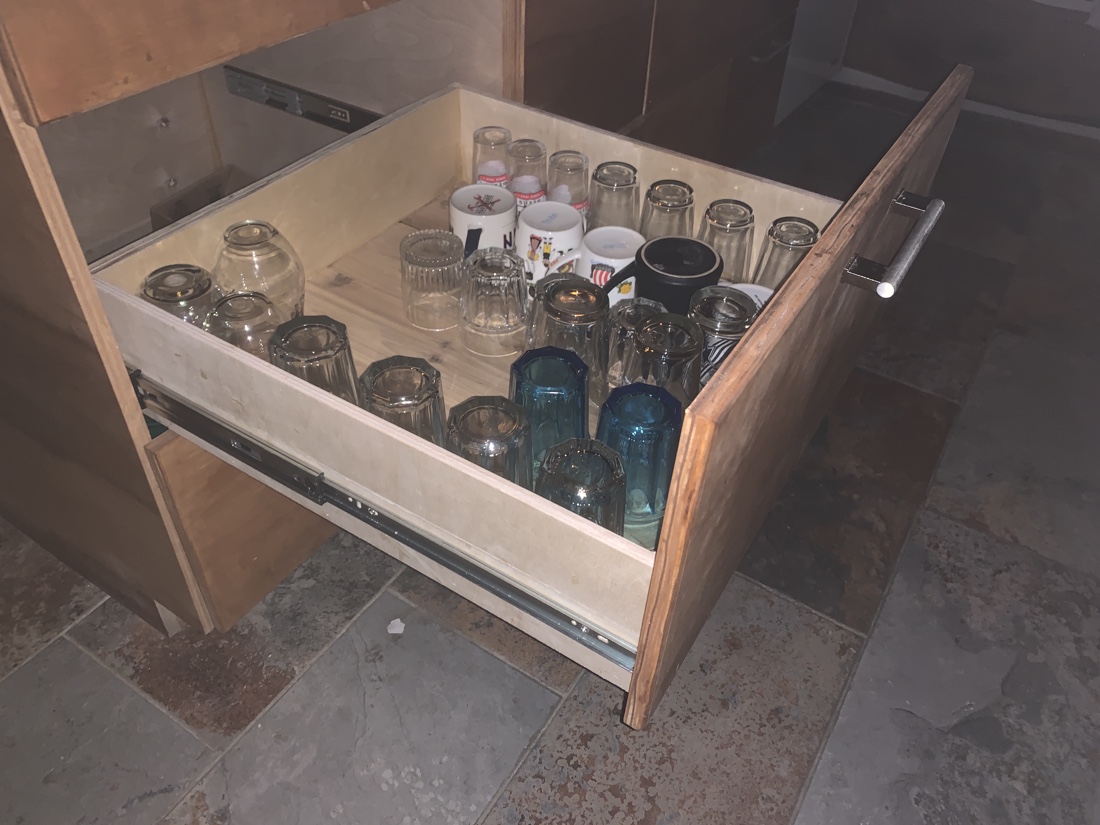
When I made the kitchen, the only drawer slides the local McCoys hardware store had were flimsy non telescope, non soft close, non auto close.

The result was that every time I arrived here after not being here for a few months, there were one or more drawers completely out of their slides.

So today I received and installed the first 3 sets of telescope soft auto close slides that I ordered from Amazon. Now the drawers open fully, can take any load (within reason) and won’t get damaged by closing hard.

I’m sure guests will appreciate drawers that work. I know I was always annoyed when I had job sliding drawers upon arrival. Especially since fixing the old drawers slides took only 5 minutes.

But these are hopefully sturdy enough to withstand some abuse.

Pretty Cool šŸ˜Ž

Ozuye has always been a pretty cool place, in terms of what it’s like. As of now it can also be cool again in terms of temperature.

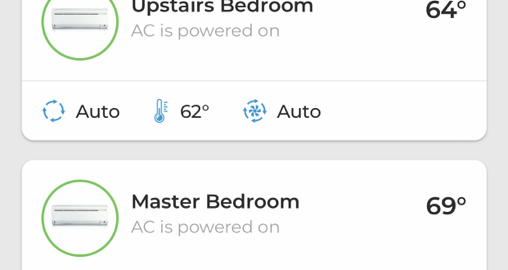
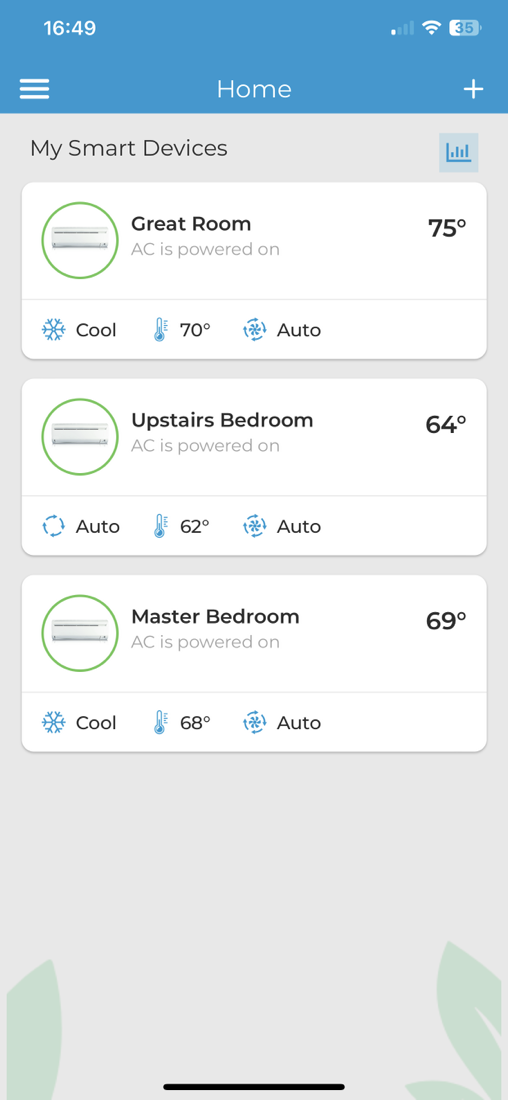
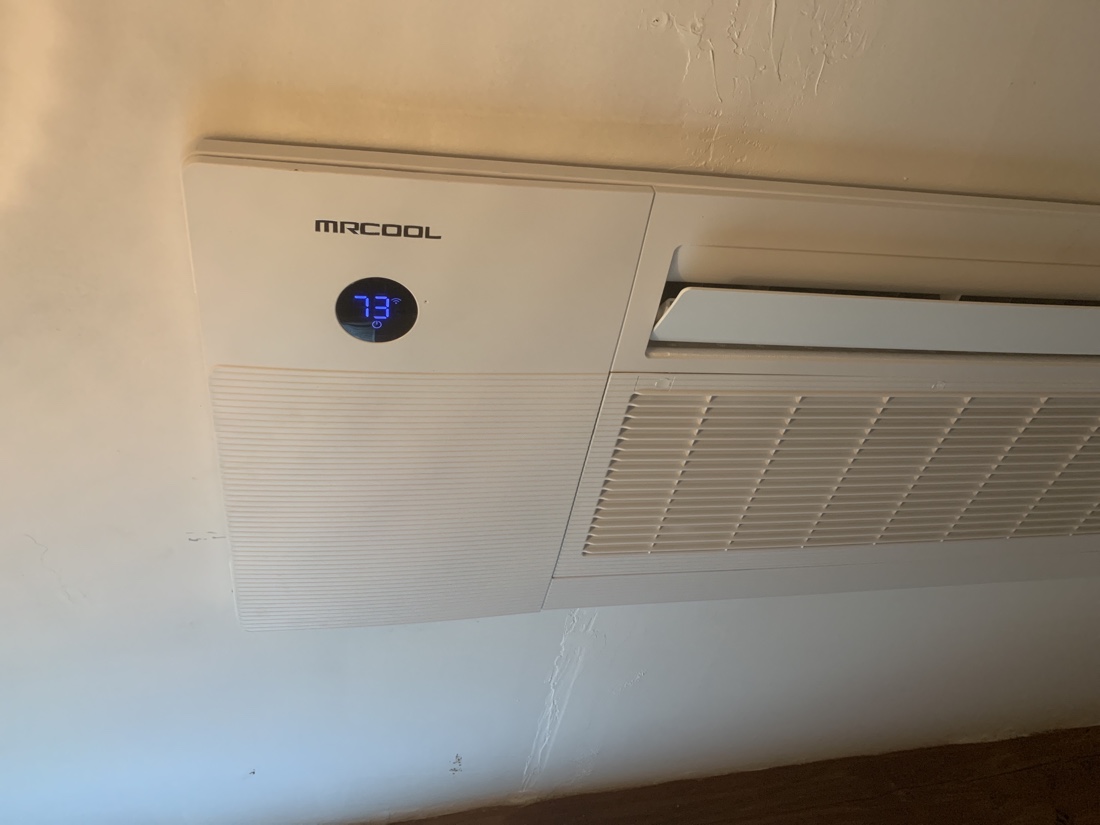
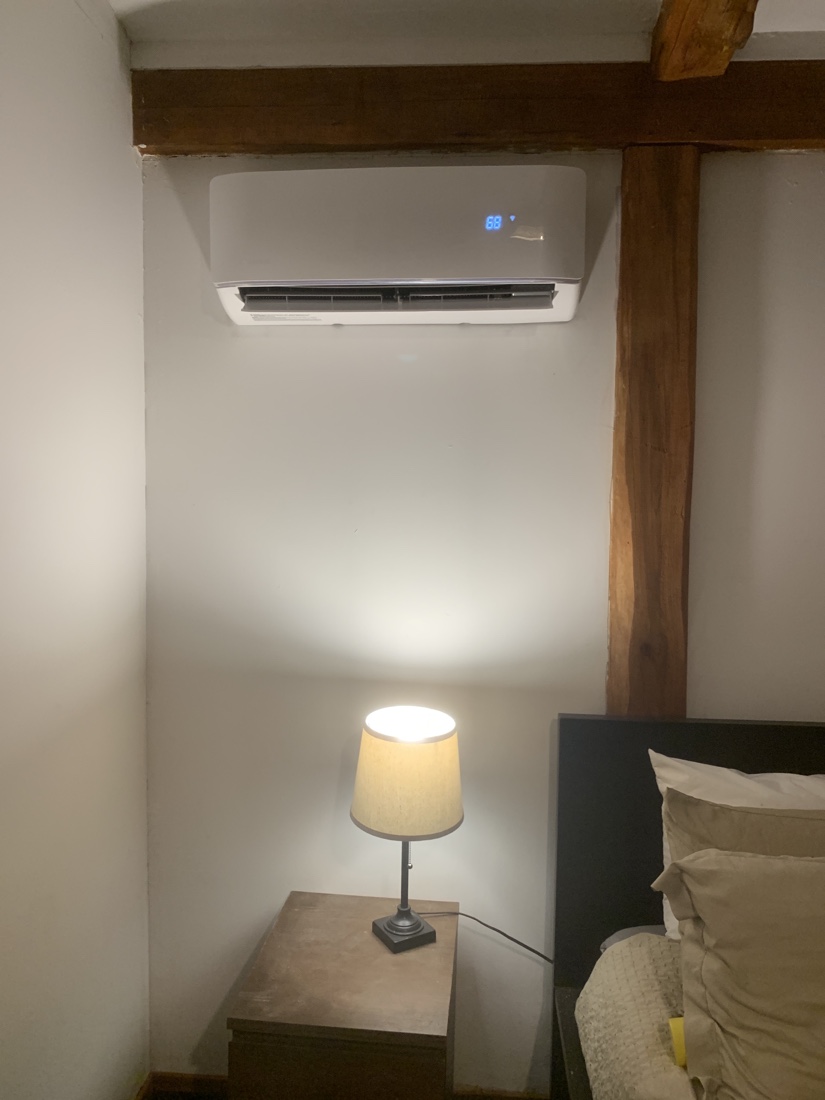
Whilst outside it’s 100F (36C) the temperatures inside are cool;

You’ve guessed it; the missing line set did arrive today after all, and a few hours later, both new AC’s are up and running.

The picture above is a screenshot of my app that now can control all 3 AC’s from around the world.

The upstairs bedroom ceiling unit is fairly quiet, although I do hear a little hum.

The new unit replacing the broken one in the master bedroom is quiet and works pretty well too.

For the first time this week the great room is the warmest instead of the coolest šŸ˜Ž

The AC upstairs can also help cool down the great room if needed by keeping the bedroom door open. The same applies to the upstairs en-suite bathroom.

Iā€™m very glad that my AC install trip worked out well.
The next few days I will test and see if I can integrate them into the Siri smart home environment.

Keep a lid on it

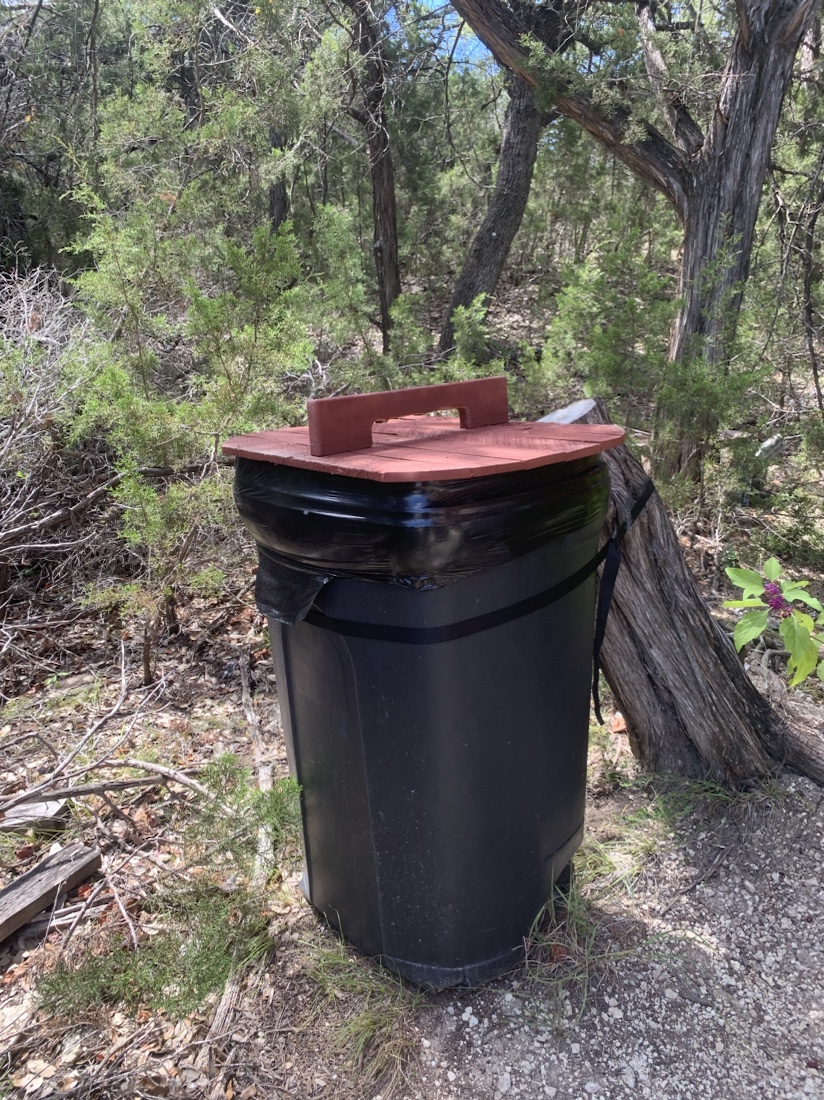
For the past years, every time I walked up to my home, I was annoyed by the trash can that did not have a lid.

The AC arrived on a big pallet, and since I have little use for a pallet, I decided to make a lid for the trash can.

It won’t win me any prizes, but it keeps the bin rain free, won’t blow off, smell less and it only cost me an hour to make it.

The remainder of the pallet I will use for the fire pit.

Upstairs Ceiling AC installed

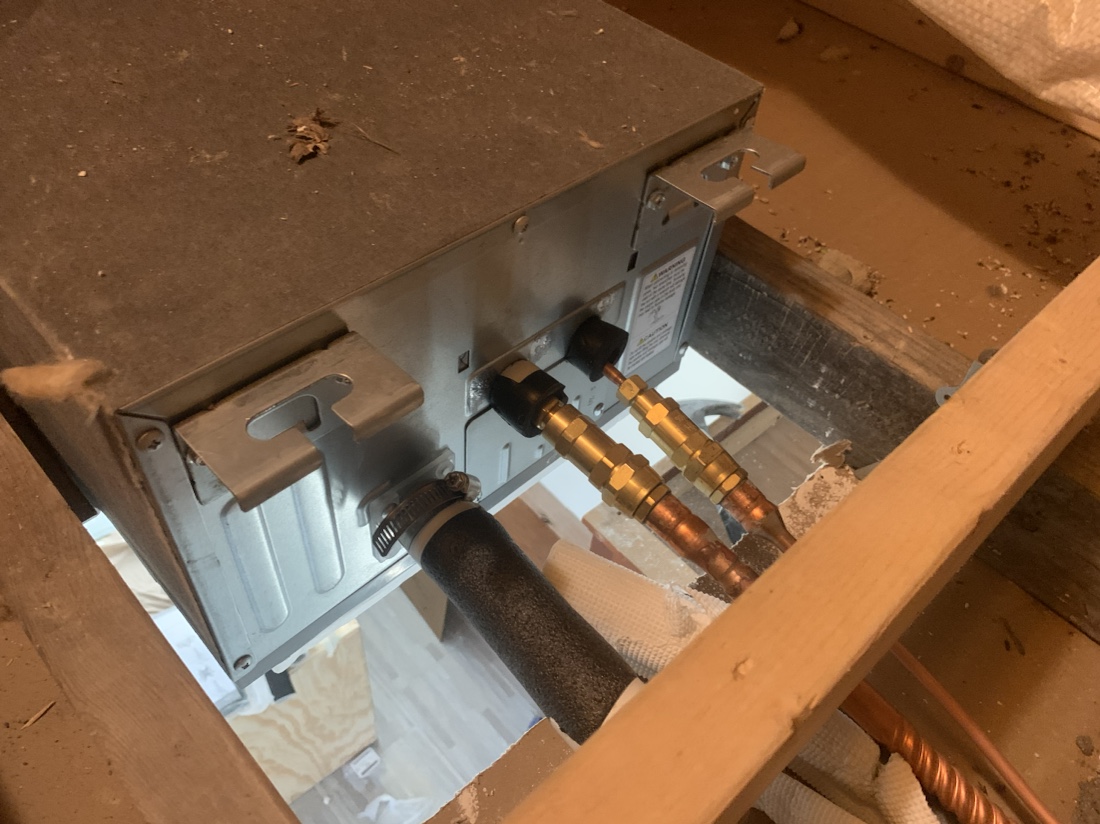
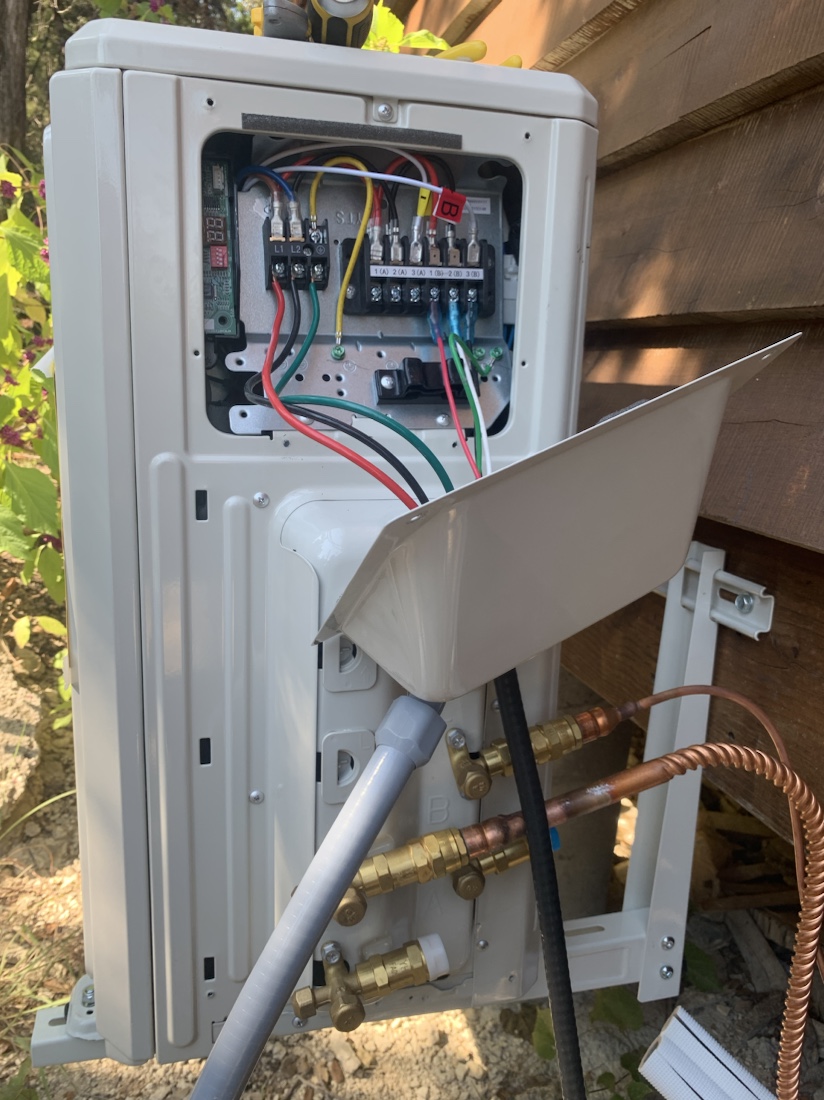
The ceiling unit is now connected to the outdoor unit with both the line set and electrical cable. The water outlet is connected to a hose that runs down to under the house.
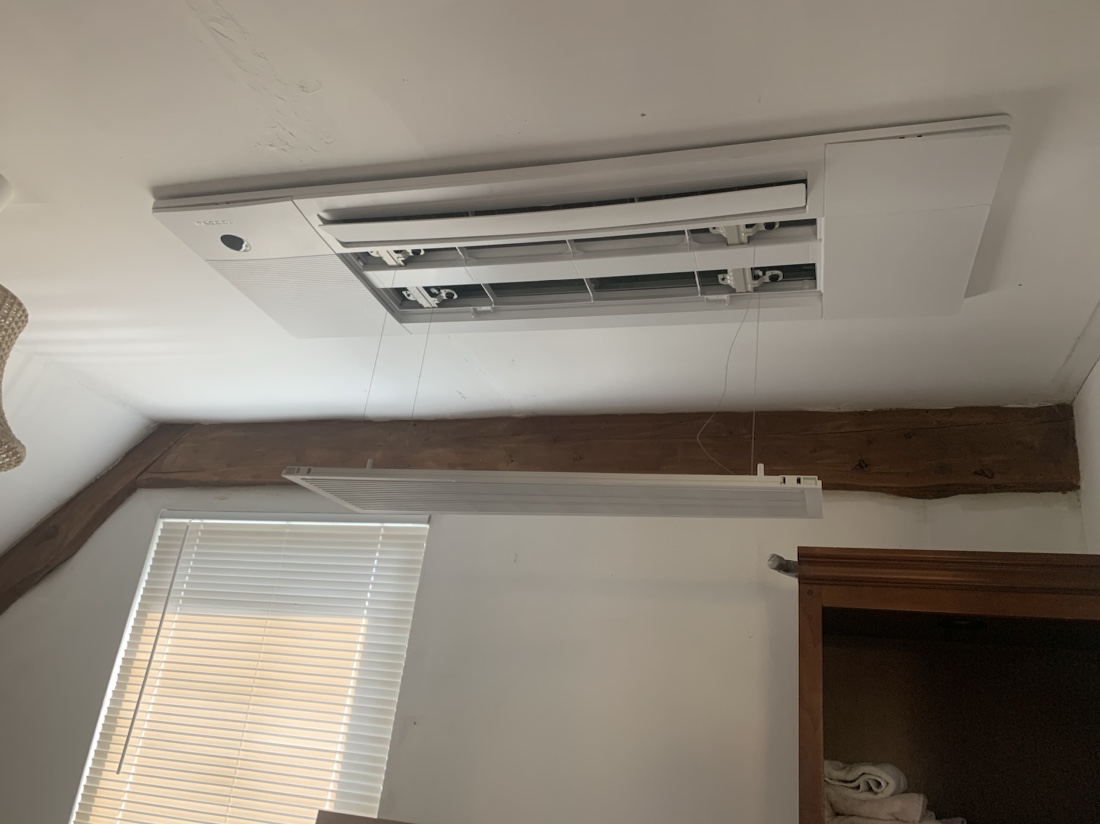
The ceiling plate is also installed.

As you can see, the air filter is in the down position; it has a built in lift that lowers the filter for easy cleaning access. My ceiling isn’t that high, but it’s a cool feature.

Outside, the line set and electrical cables are also installed.

The only thing left is to open the valve on the condenser to release the refrigerant, but I probably won’t do that until I have also installed the master bedroom indoor unit.

And then after a final check for leaks, the pipes can be wrapped up to prevent sweating.