All posts by bkrijger

Pretty hot 🥵

With my new laser infrared thermometer I can measure the temperature of any surface. The attic upstairs goes up to 104F (42C) even though outside it’s “only” 93F (34C)

So I postpone pulling the line set up there until tomorrow morning.

And some other time I might install a gable louver vent in the attic, so that the hotter than outside air can flow out.

The great room AC still works pretty well; the temperature at the air outlet is 55F (12C)

Ceiling Unit mounted

As the upstairs bedroom is fairly small, and there is no neat way to run the lines from the indoor unit to the outdoor condenser, I opted for a ceiling unit. The downside is that is bulky, and heavy. They recommend 2 people to install it, but since I haven’t been able to clone myself and it’s do it YOURSELF, I thought of a safe way to get it mounted. Using a climbing rope which I attached to the 4 hoist points, and a pulley screwed info the rafter, I hoisted the unit up, secured the rope and then climbed up to get it supported with some 2×4’s. Then I could detach the rope and shift the unit into place. Finally it’s secured into the ceiling joists, which air had to add, as it needed 16″ spaces joists, whilst mine are 24″.

There will be a ceiling cover mounted later, but this was the most challenging part.

Condenser on Bracket

As I already installed the bracket, putting the condenser in place was relatively easy. Not light, but easy. I used the same technique as they used to build the pyramids; put something under each alternate side and lift it up step by step.

It has a gap at the rear for air inlet and is close to the also already installed disconnect.

2 zone mini split arrived. Sort of.

The original plan was to get delivery on Friday, but that didn’t happen and was moved back to today, Monday. The shipment was on a large pallet, with 4 boxes. One condenser, one wall indoor unit, one ceiling indoor unit and a box labeled accessories.

I asked the driver if the box accessories contained two line sets ( the copper lines and electrical wires that connect the indoor to the outdoor unit) which was confirmed.

I signed for delivery, hauled the boxes up the driveway and first opened the accessories box. To my great disappointment, it contained only one line set, not two 😞

I immediately contacted the supplier and after going through some questions was told it would be forwarded to the shipping manager for confirmation and sending a 2nd line set.

Hopefully that will arrive this week, so I can install the 2nd line set before I fly back again.

To be continued.

Hot tub cover

Much to my disappointment I found the Hot Tub in a bad state again; the air mattress inside the cover was again removed and this time intentionally stored under the hot tub deck.

The result is that with any rain, a pool forms at the center, and as the cover then touches the hot tub water, insulation is reduced to a thin sheet of vinyl.

So I engineered the following solution;

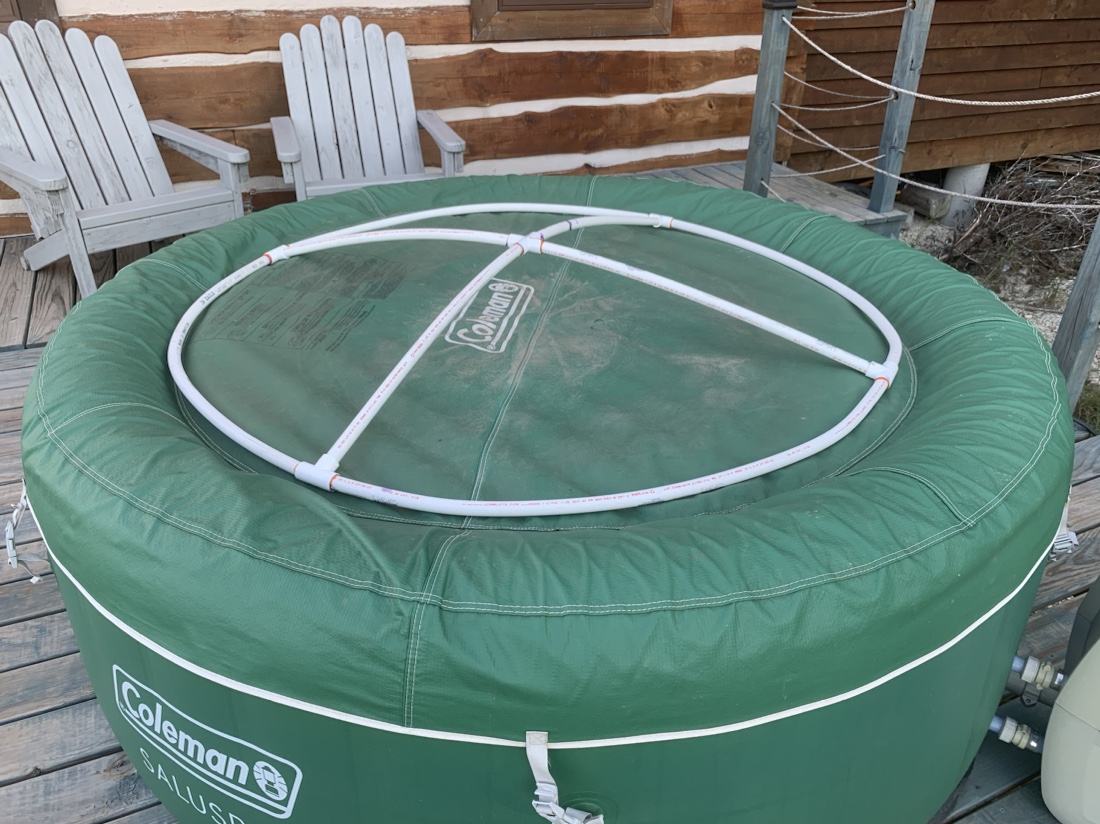
This frame is made from pvc charlotte pipe, connected with T and one Plus connnector, forming a dome tent frame.

Obviously that won’t do anything when on top of the cover, but the next picture shows what it looks like now.

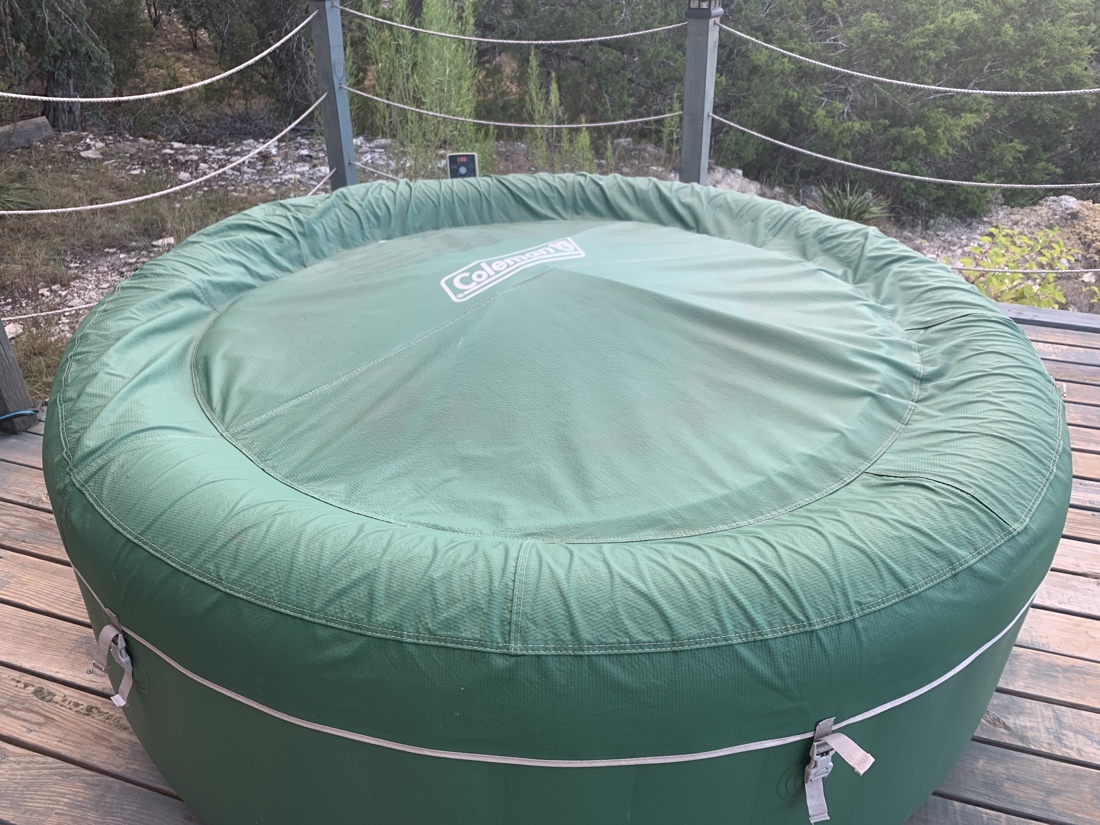
Now, when there’s rain, the water will drop off to the edge, where it cannot touch the water inside the hot tub as the cover is a few inches above the water level. Besides lowering my electric bill, it should also keep the white Coleman logo cleaner, as water immediately drips off to the sides. That makes the hot tub a little more inviting than a muddy brown cover pool.

Glueing this frame together wasn’t easy; the charlotte pipe is much more rigid than European PVC pipe, as the walls are 3 times thicker. But using my stove I heated up the pipes to bend them into a curve.

As the great Hannibal used to say ; I love it when a plan comes together.

Prepping for coolness

The new dual zone air conditioner that was supposed to be delivered Friday was delayed until Monday (don’t ask).

But I still needed to get some materials anyway, like a dual circuit breaker ( the old one was a 110V ) and new cable to run from the circuit breaker to the disconnect.

I also bought and mounted a bracket for the condenser. The lines for the master bedroom indoor unit will go under the house. The unit for the upstairs bedroom will be a ceiling unit, and the lines for that one will run from the upstairs bedroom, past the upstairs bathroom, down into the technical room. And there it will go through the floor, close to the grey disconnect box.

Tools for the trade

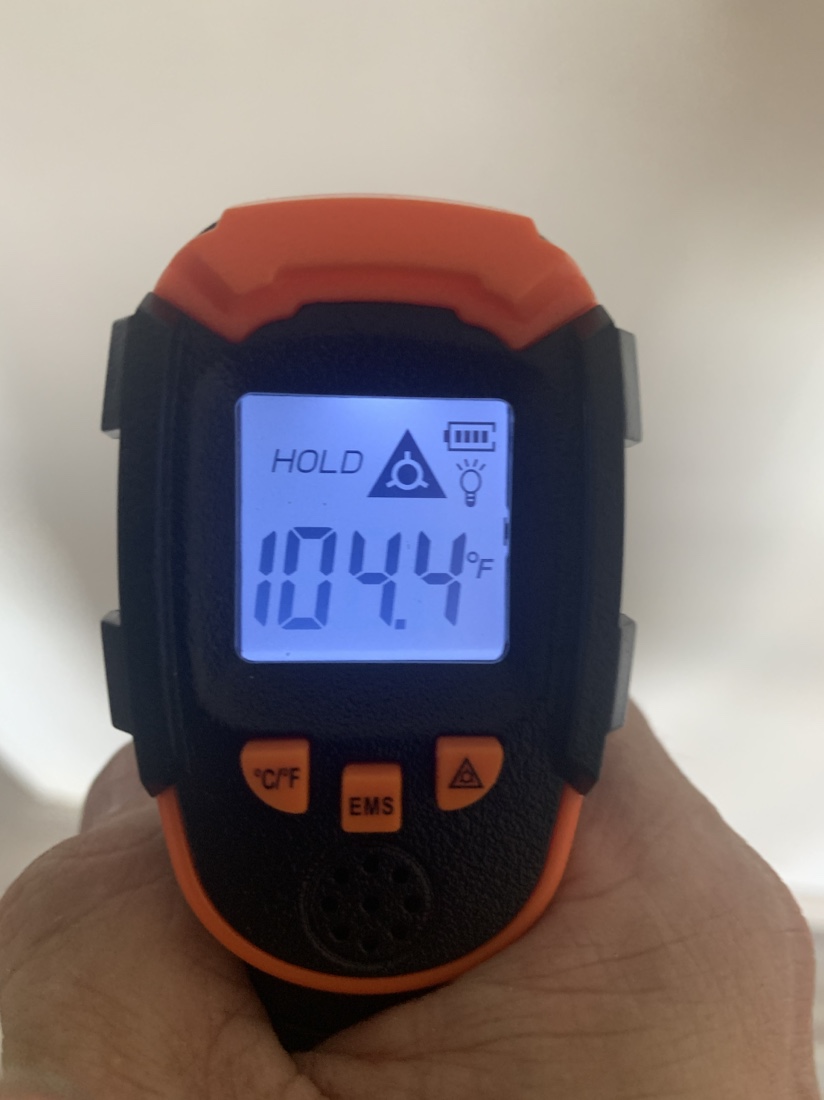
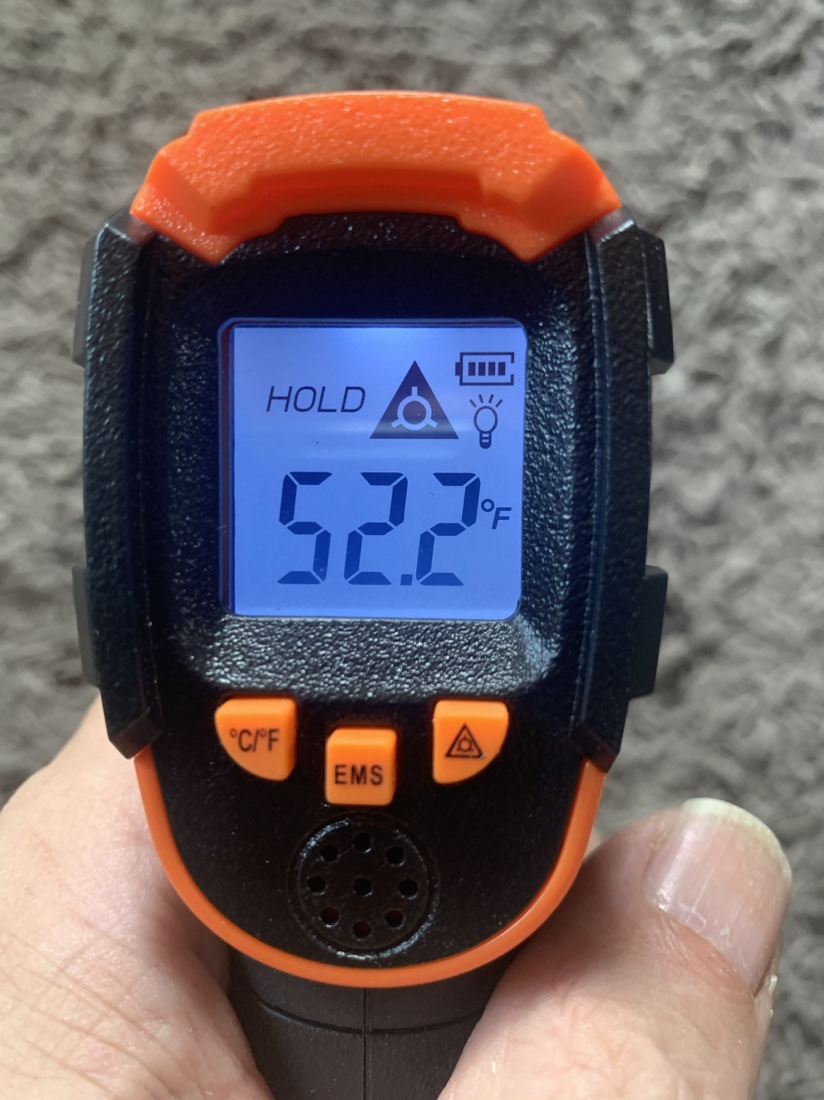
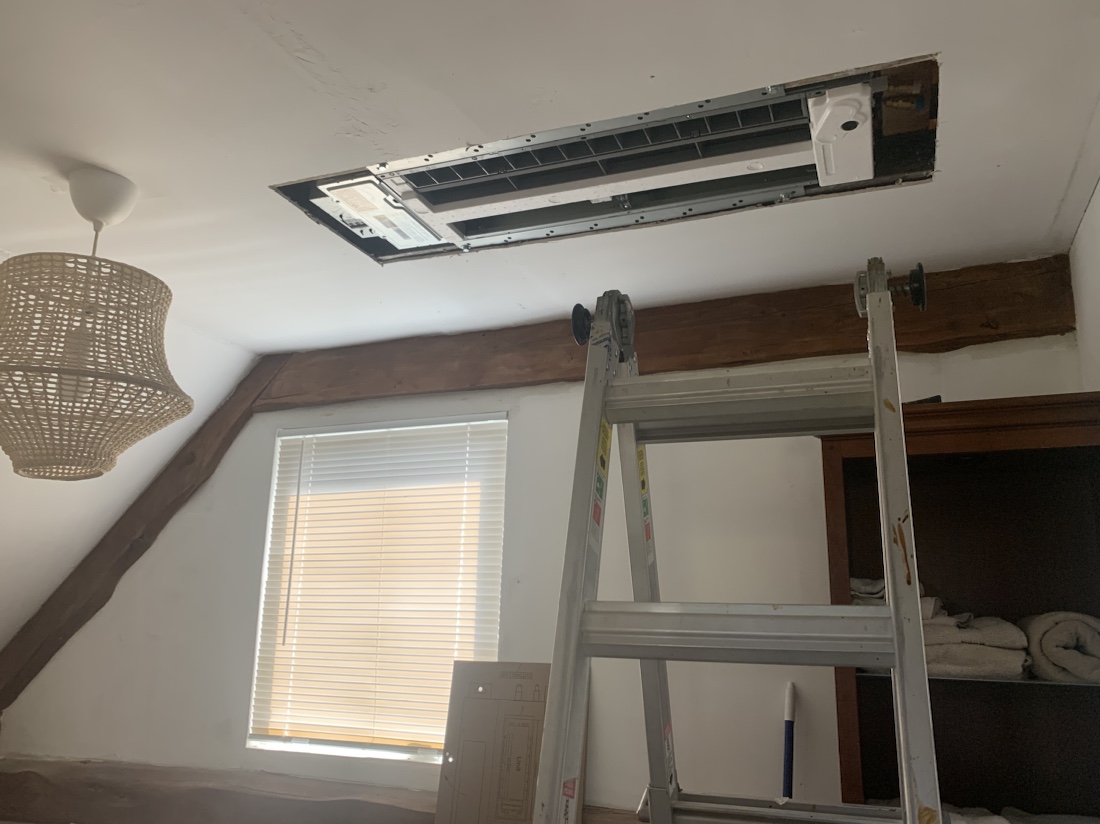
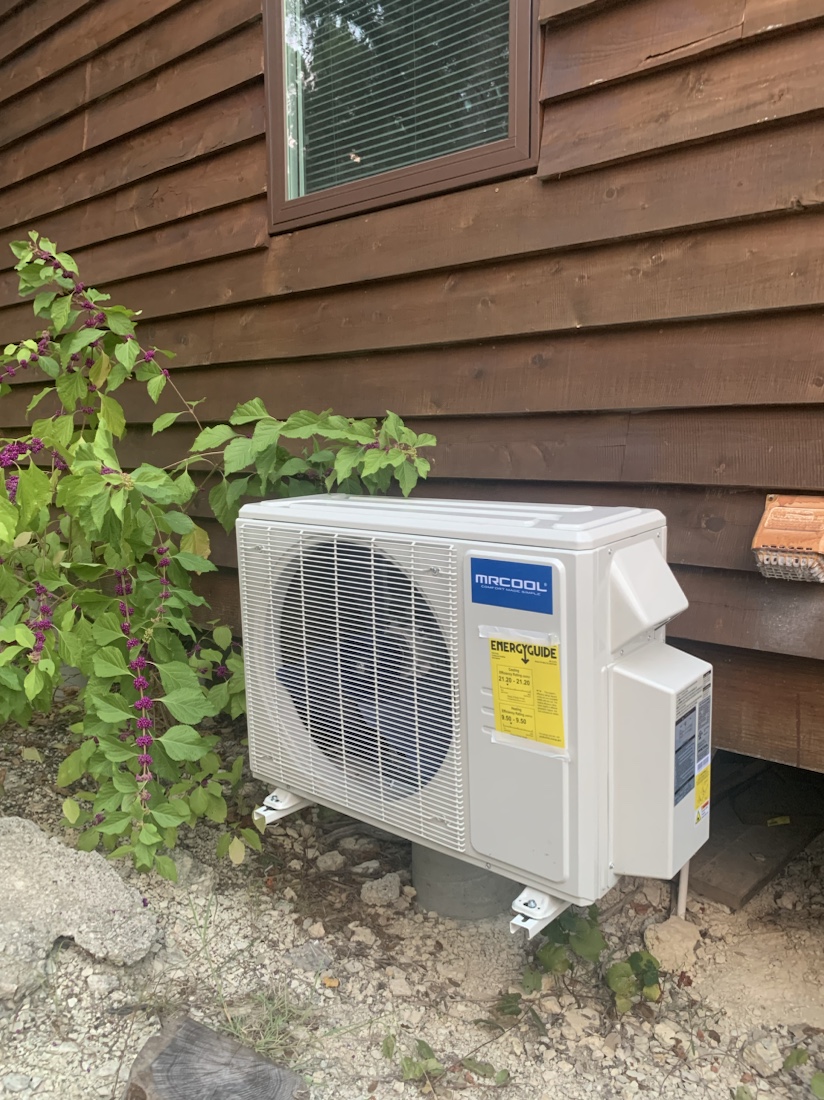
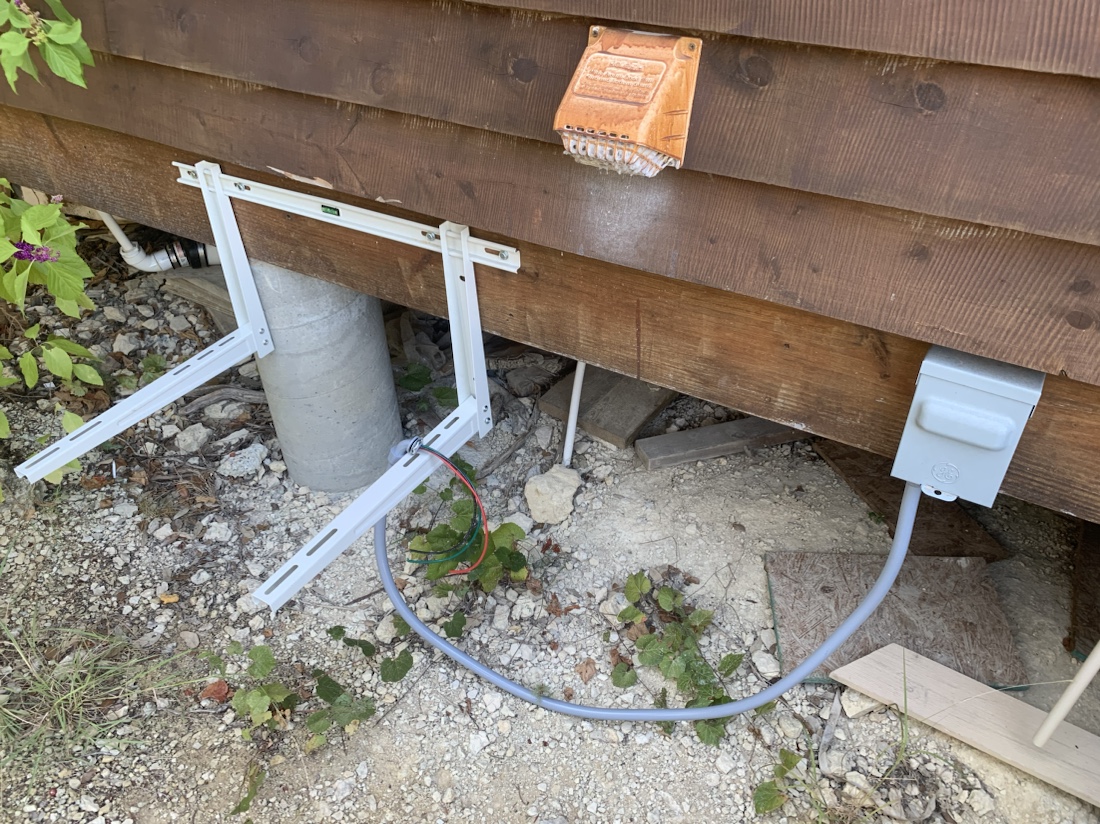
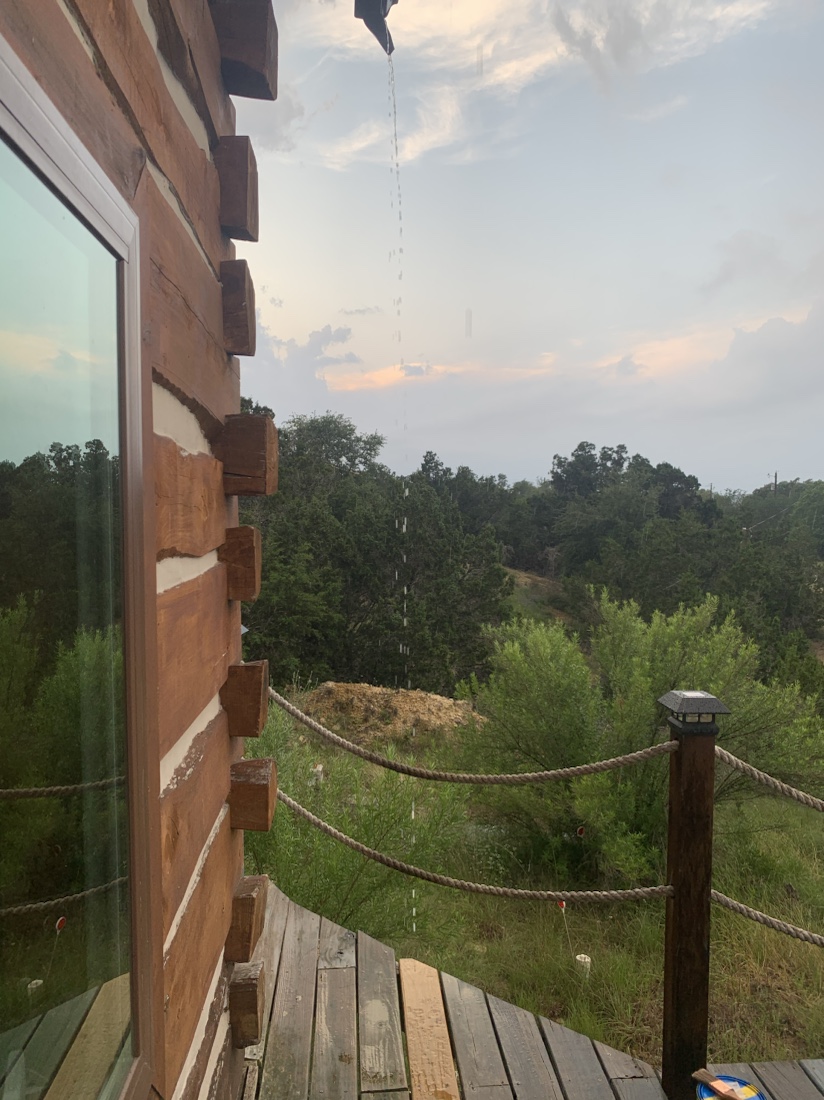
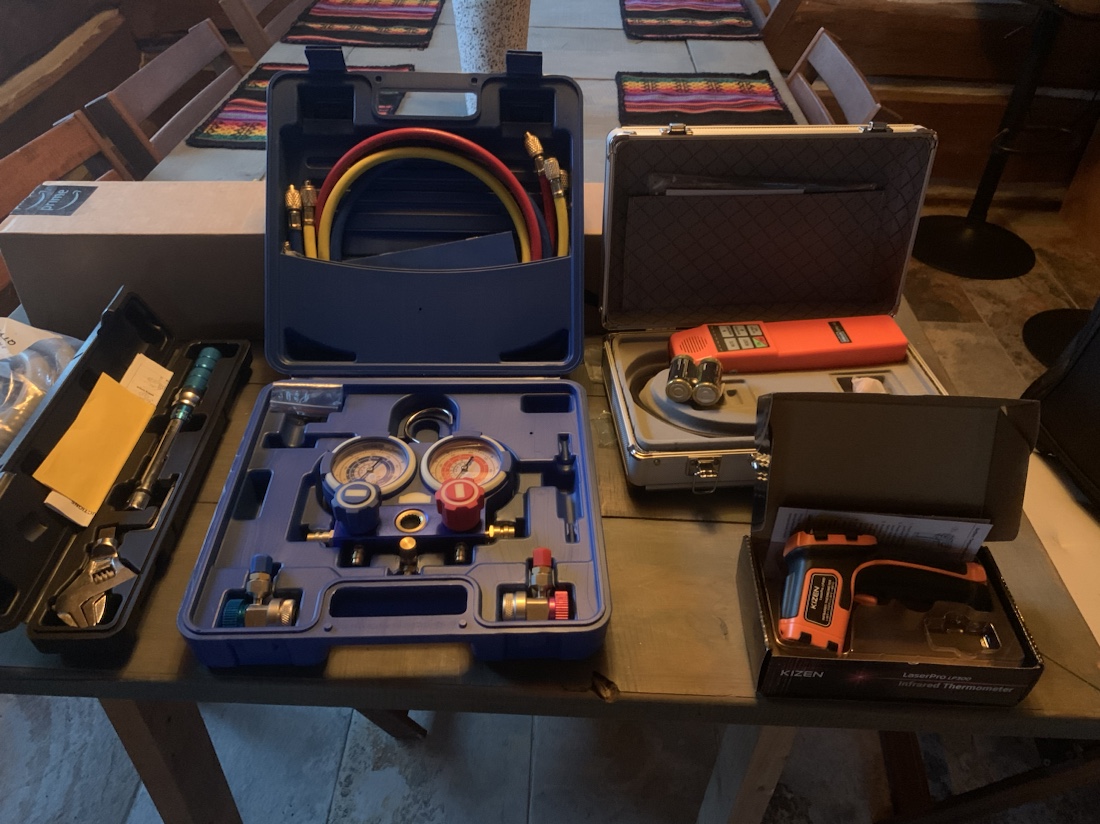
I just arrived at Ozuye (after a comfortable premium comfort flight thanks to my brother Arne) for some HVAC repair and installation. As with any job, having the right tools is essential, so on arrival I had the following tools delivered by Amazon;

On the left is a torque wrench. That allows nuts to be tightened with the right amount of force. In the blue case is a manifold gauge set, which allows me to measure the pressure on the HVAC lines.

Top right is a leak detector device, that can be used to look for leaks in the HVAC lines; it beeps when the nozzle is close to a leak.

Bottom right is an infrared temperature gun, so the temperature of the indoor units can be measured. It will also be useful to trace hot and cold spots in the home, as any surface can be measured from a distance.

The AC in the great room still works ok; I managed to get the temperature down to 75 from 85 within about an hour. But I suspect there could be a leak in that unit too, just less bad than in the master bedroom.

Tomorrow (Friday) the new dual zone AC unit will be delivered, which I will use to replace the one in the master bedroom and a ceiling unit will be installed in the upstairs bedroom.

Gutter in action

Aesthetically not ideal, but functionality sufficient;

After I extended the rain gutter by a few inches, rain is now transported just off the edge of the deck.

One day I will install a downspout that ends up in a wooden barrel. Until that day, this will suffice.

Finally a little bit of rain; thunderstorms have been forecasted for days, but today the rain added up to a whopping 0.25 inch.

On my way back from my visit to HCPL I took the backroad that follows the river. It wasn’t as low as I thought although the river pass was completely dry.

In the gutter

Don’t worry, I did not end up in the gutter. But I did install a rain gutter today;

In case you have a hard time seeing the gutter; that’s because it’s brown. Mounted on the fascia boards. Rather flimsy aluminum, but at least aluminum so it won’t rust or crack.

It will prolong the life of my deck boards, as the rain and condensed water will now be funneled off to the side.

Instead of an ugly down drain, I simply opened up the right end cap so that water can poor out that side. It should hit just off to the right of the deck. There should be little leaves and other debris in the gutter as there are no trees taller than my home nearby.

And yes, the gutter is mounted slightly non level, allowing water to run off to the right side.

Maybe there will be a thunderstorm, in which case I can check if it works as intended.