Category Archives: News

No Bars Hold

Or should I say, no holds barred when it comes to making a bar? I’m kinda making it up as I go along, although following guidelines such as a 3.5 inch toe gap, 10.5″ bar counter tap overhang, 36″ countertop height and 42″ bar height. On the front side, there’s space for a dishwasher and another possible build in device, and 3 sections of drawers.
It’s 8 feet wide, which easily seats 3 people.
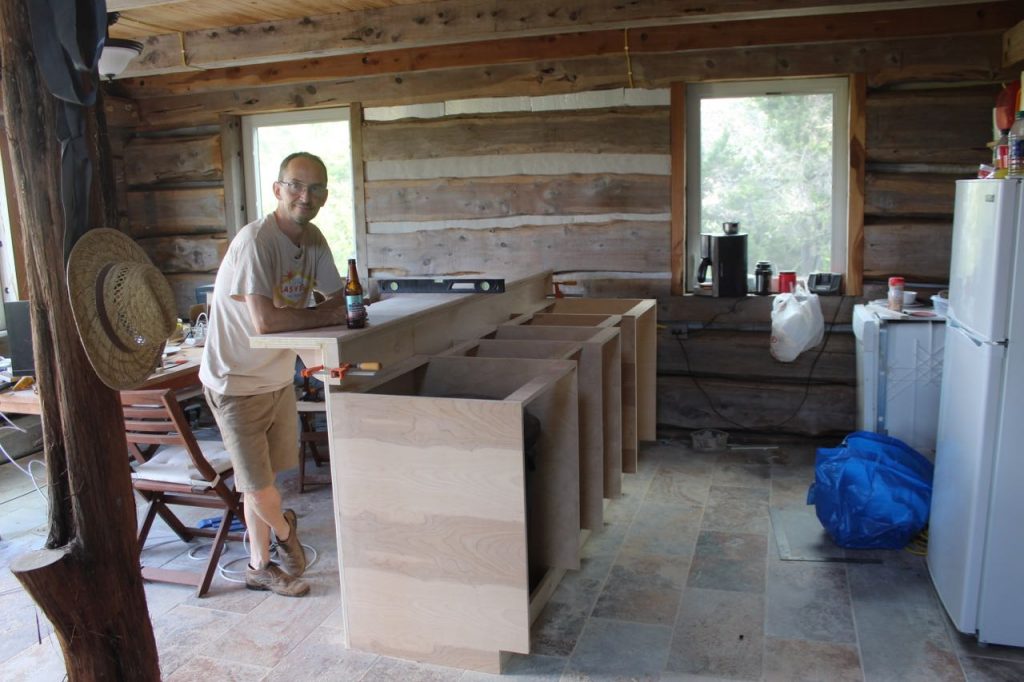
Obviously, the countertop is still missing, as are the fronts and drawers, but it’s starting to look like a bar .
The countertop will come from Ikea, and I’ll pick up a sink there too, that I already planned for in the cabinet division.
It may look huge on this picture, but it will move back and to the right a little, so it’s making the kitchen area about 20% of the great room.
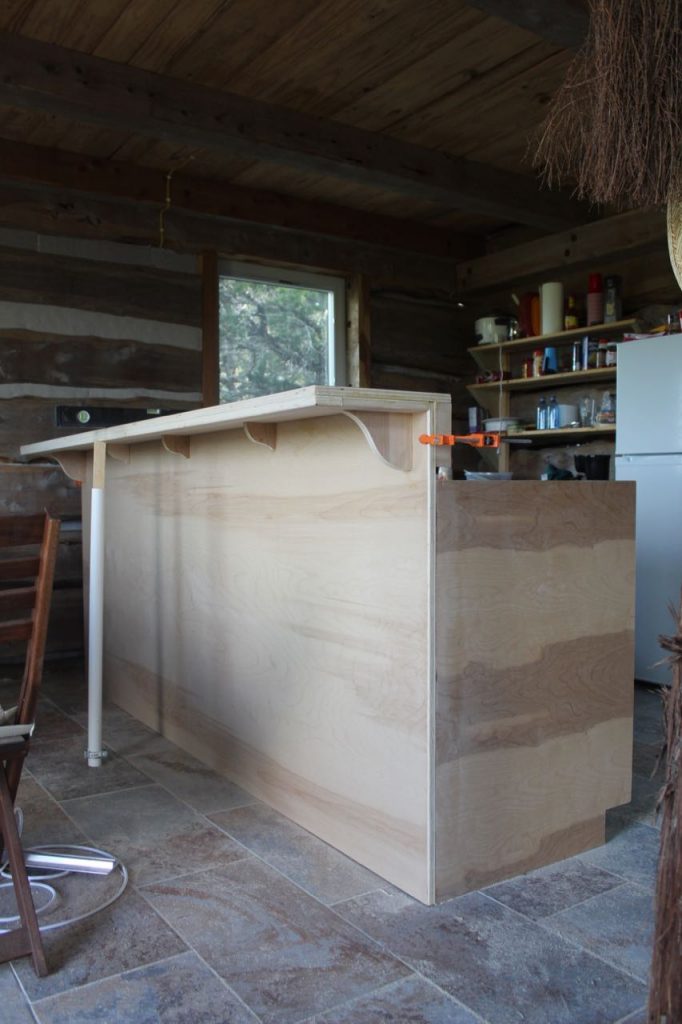
The bar top is simply two layers of 3/4″ Birch, for economy reasons; counter tops are all 24+ inch wide, which would be way to wide for a tall bar,
so I’d have to cut it and throw away half. I managed to make all this from just three 4′ x 8′ boards. I might put a layer of epoxy on top after staining it to keep the wood nice;
that makes it super shiny glass like.

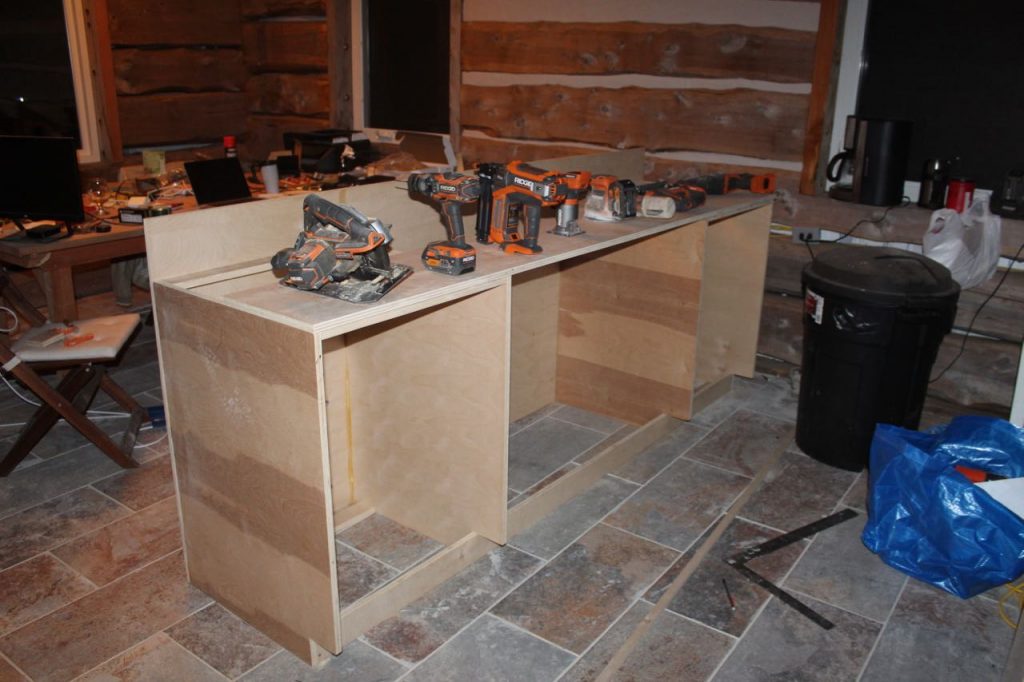
To support the bar overhang, I added 5 supports. It’s the first time I’m using almost all my power tools on 1 job;
Circular Saw, Jig saw, Router, Sander, Drill, Screw driver and Brad nailer. The brad nailer makes glueing things together so much easier;
just ad a few brad nails to keep the parts in place whilst they dry. (the white PVC vertical is just to keep the bar level whilst drying).
 

B’s Kitchen to be

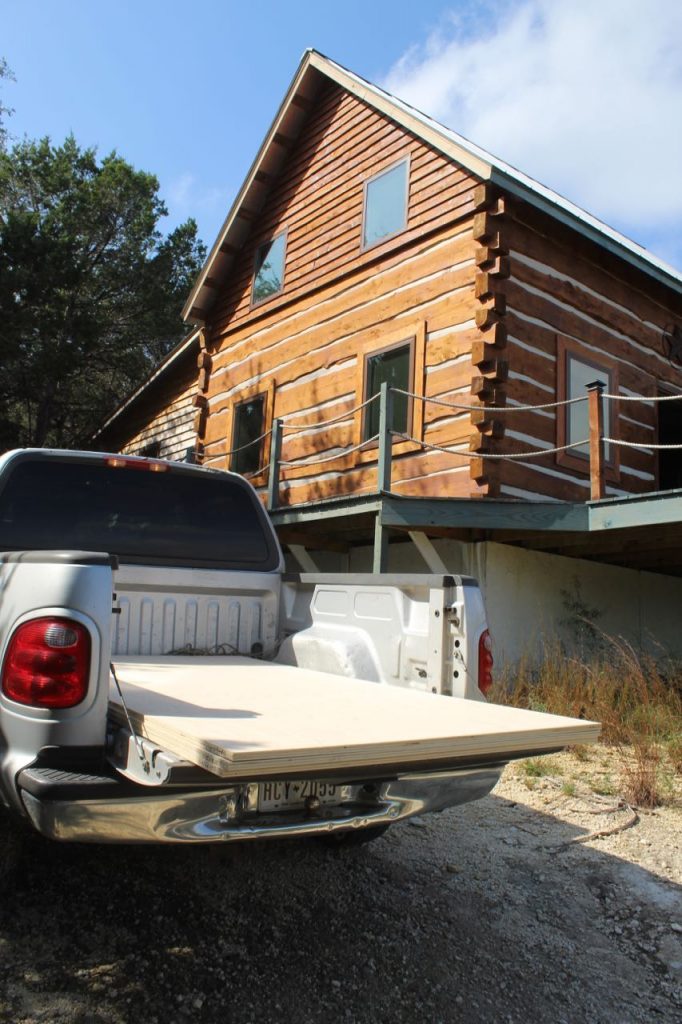
Today I started on what will be the kitchen in the great room. It will be an open kitchen,
with a bar and countertop on one side, and fridge and range on the other.
These three Birch Plywood boards will become the bar.

After a few hours of work, this is the intermediate result:

I know, It doesn’t look like much yet, but trust me, it will.
After this, it was time for cooking on the grill outside; Jalapeño Sausages and Brussel sprouts.
Daylight savings ended here this Saturday, so it’s now dark at 6PM, but I had a nice sunset BBQ on the deck outside,
as it is still 69 degrees out there (21 celsius) and it’s now 7PM.


The other side

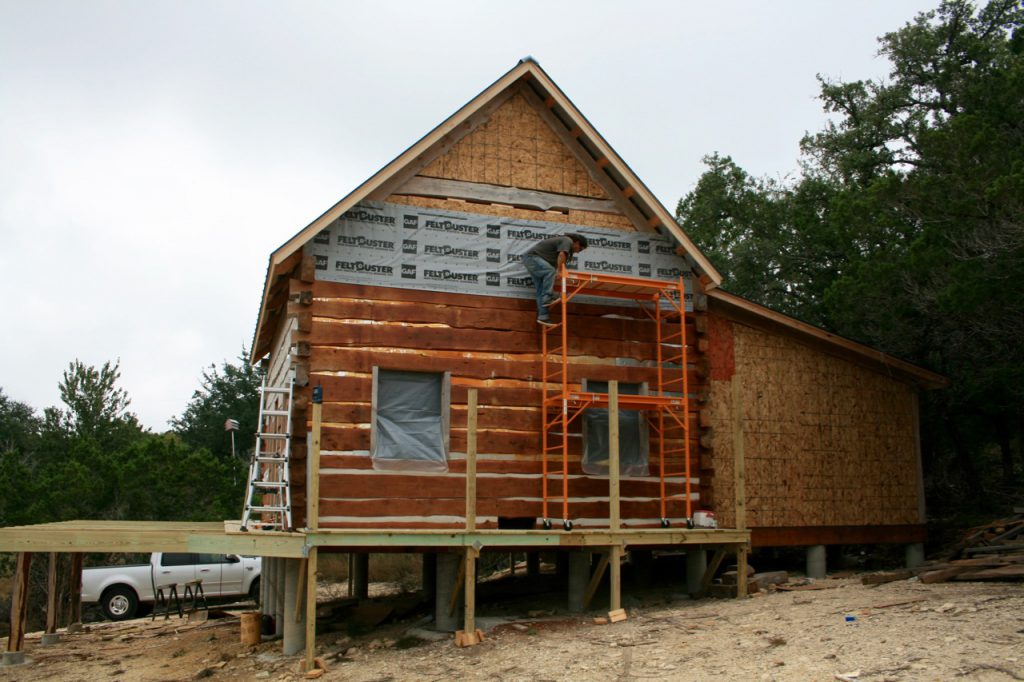
Today the east extension wall was up for siding.
This involved a different approach as loose soil, tree roots and steep inclines,
makes the use of ladders there unsafe.
So we engineered a platform to work from using the scaffolding and some heavy boards.
As you can see, we made it to just above the window today,
and will finish the top tomorrow.

Totally Framed

img_3745Usually it’s not good when you get framed, but in this case it is a wonderful feeling; for the first time I have outer walls on all 6 ends,
and I closed the window openings with clear plastic, so I have an actual feeling of being indoors.
Here are some pictures taken showing how it looks now.

img_3748

img_3741

To OSB or not to OSB, that it the question.

Well, frankly, it’s hardly a question when it comes to US homes; most have walls made from OSB (Oriented Strand Board).
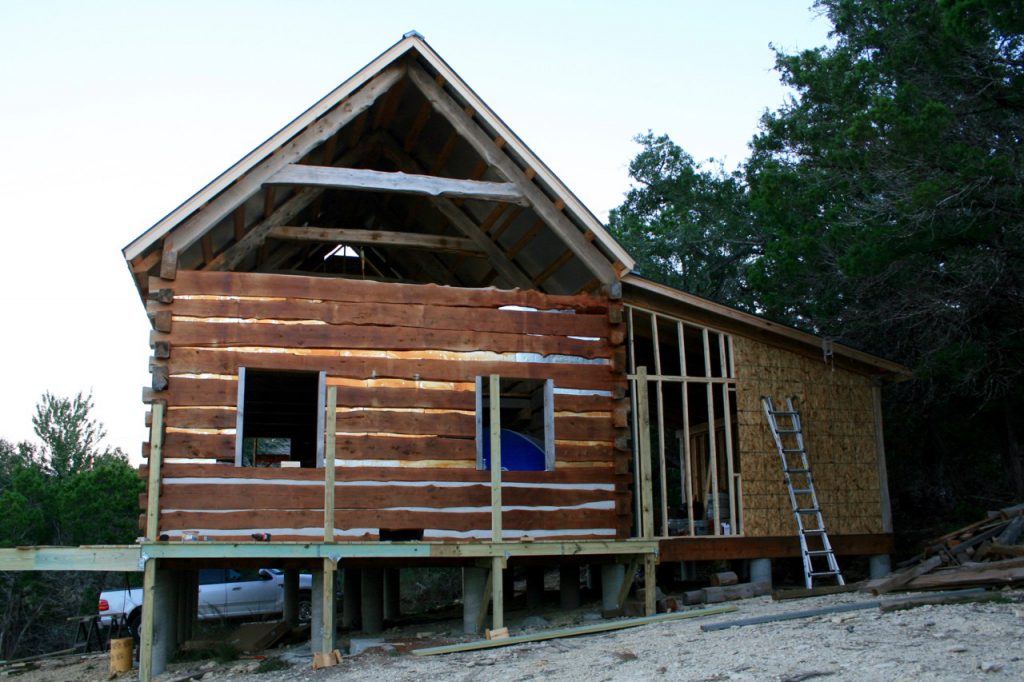
My log walls obviously don’t require OSB, but the gable ends and extension does, so work has been done on those today;

As you can see, half of the western extension wall has been done, and almost all of the eastern Gable End.
The windows that were visible when stick framed are covered for now, so it is all protected from the elements.
Once the windows are to be put in, it’s easy to cut out the holes in the OSB.
You can also now see the little diagonal connection I made between the front and side decks.
When all OSB is in place, the only entrance will the the front door, so being able to access the main deck from the side decks became essential.

img_3721

img_3722

I love it when a plan comes together

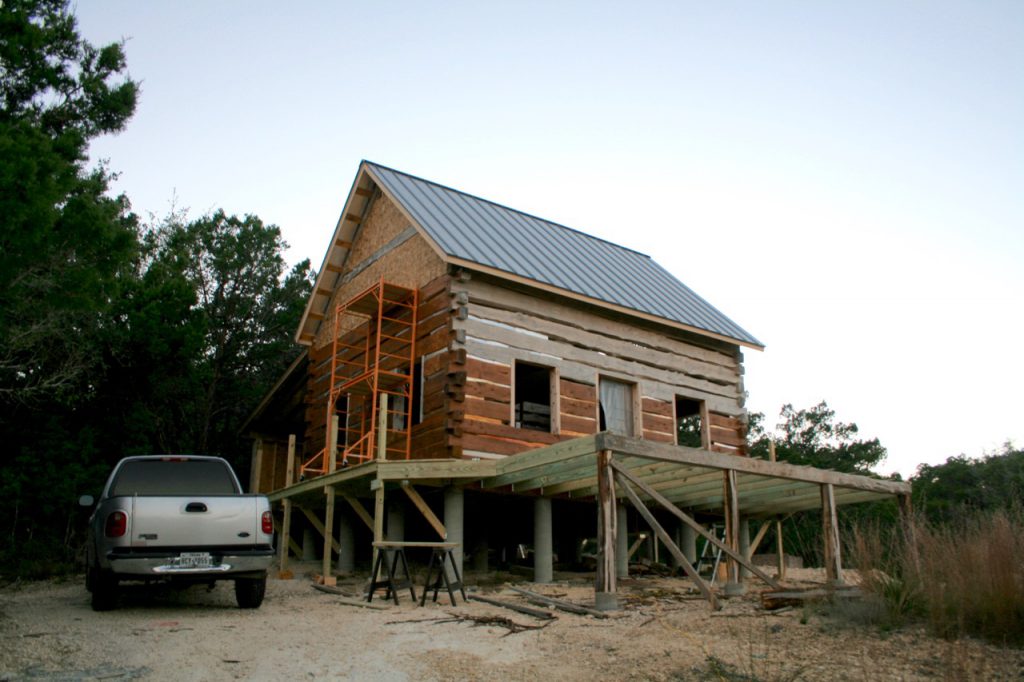
These famous words of John Hannibal Smith describe the feeling when I climbed the scaffolding on the deck I made;
Now I can reach almost anywhere without any problems. Well, almost… I kinda cheated as I placed the top half of the scaffolding from above,
as I was reluctant to climb up and hold the steel parts that make the scaffolding’s second level.
I’m fine with climbing on it, but assembling a heavy railing on top of the second floor is not fun for those of us with Vertigo.
Likely I will ask Dave to do the top ends of the gable end walls (The top triangles closest to the rooftop)
Or maybe I will manage standing on the lower scaffolding floor, I will see how safe I feel doing it.

img_3707

Stick ‘m up, all 25 of ‘m

That’s right, I had to stick up 25 8ft 2×4″-ers also know as stick framing. Basically, it’s a skeleton of 2 x 4’s on which OSB boards will be screwed.
So this wall is made of 200 ft (61 meter) 2×4 pine.
The framing is good old fashion hammer and nail work, although I used screws to keep the wall flush and still reposition-able.
I’m standing in the main bedroom, behind what will be a 36×48″ window.
The next layer will be OSB boards, then a moisture protection and finally cedar siding. That’s boards horizontally placed with an overlap of about 1/5″.
img_3708

They sting!

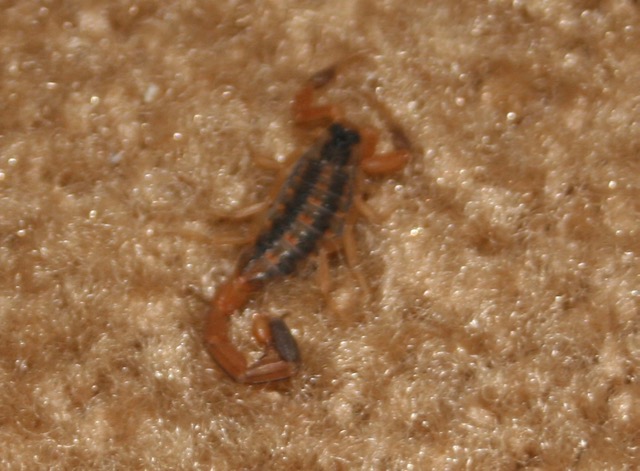
I’m getting introduced to more and more things that are typical for Texas; Today I had a up close encounter with a scorpion.

IMG_3655

I check my shoes before I put m on, but this morning, at the B&B I put on socks I had put on the evening before after a much needed shower, and had put in my shoes overnight.
Scorpions must have a foot fetish as this one crawled into my sock. As I put the sock on I felt a sting, much like a wasp sting. Luckily scorpions aren’t lethal here, but it isn’t a nice feeling. The lesson here is; check everything you put on unless it comes from a closed environment like a suitcase or sealing cupboard.

These scorpions are small; about 2 inches and tend to crawl where it’s dry and warm. Personally I would not choose a worn sock, but I’m no scorpion.

Wall definitely not paid by Mexico

IMG_8799
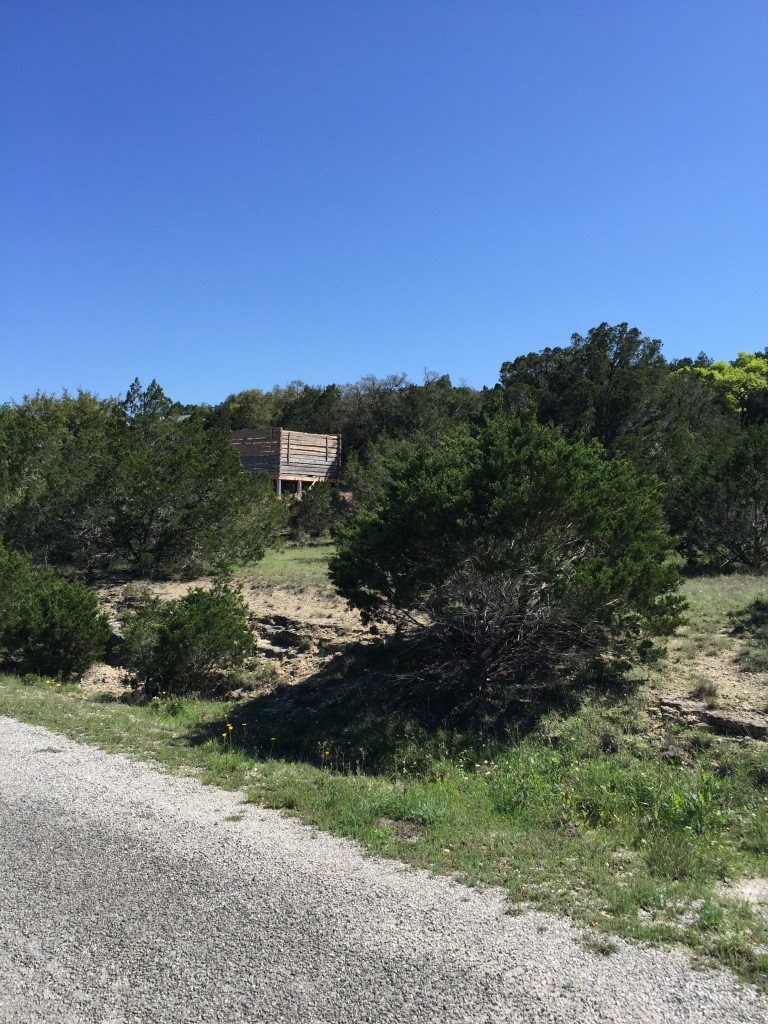
View on the house from Appaloosa drive

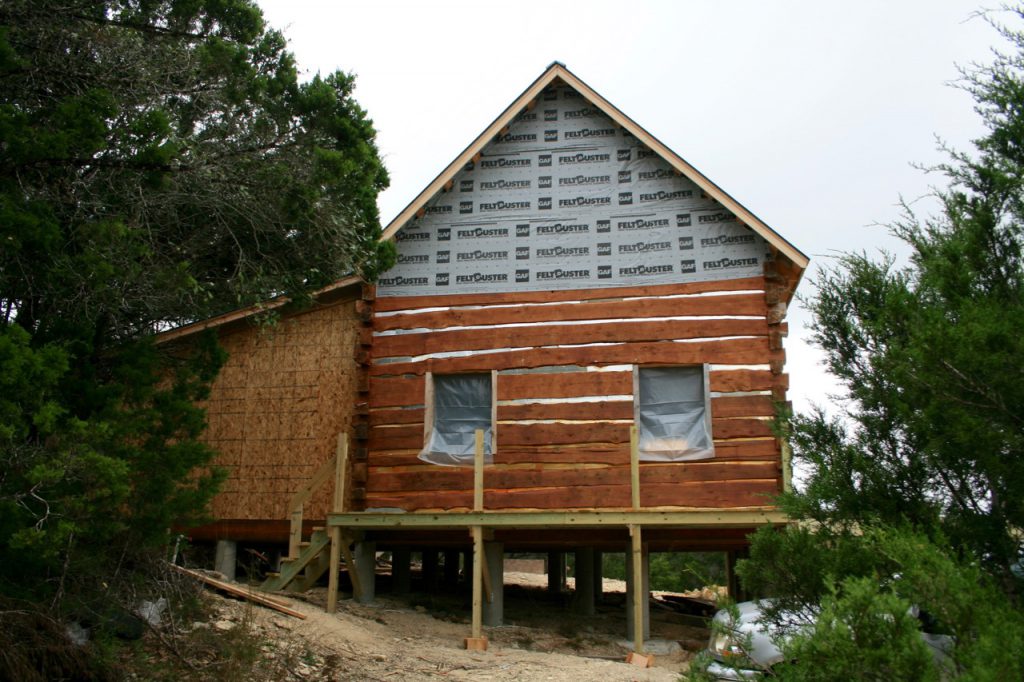
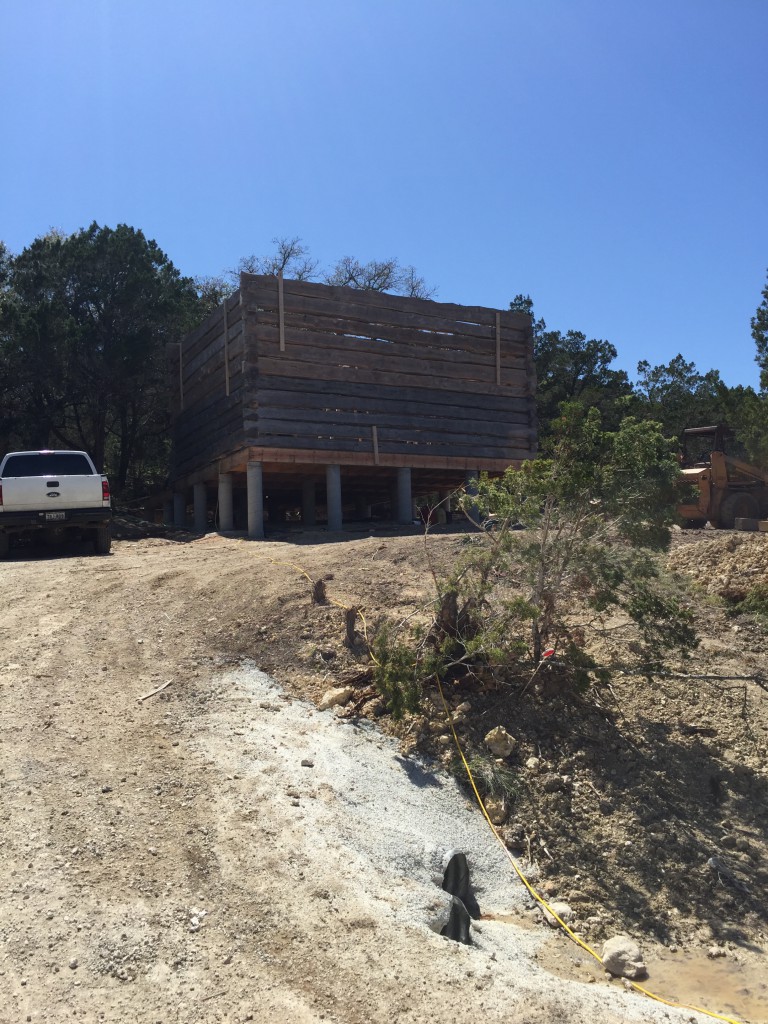
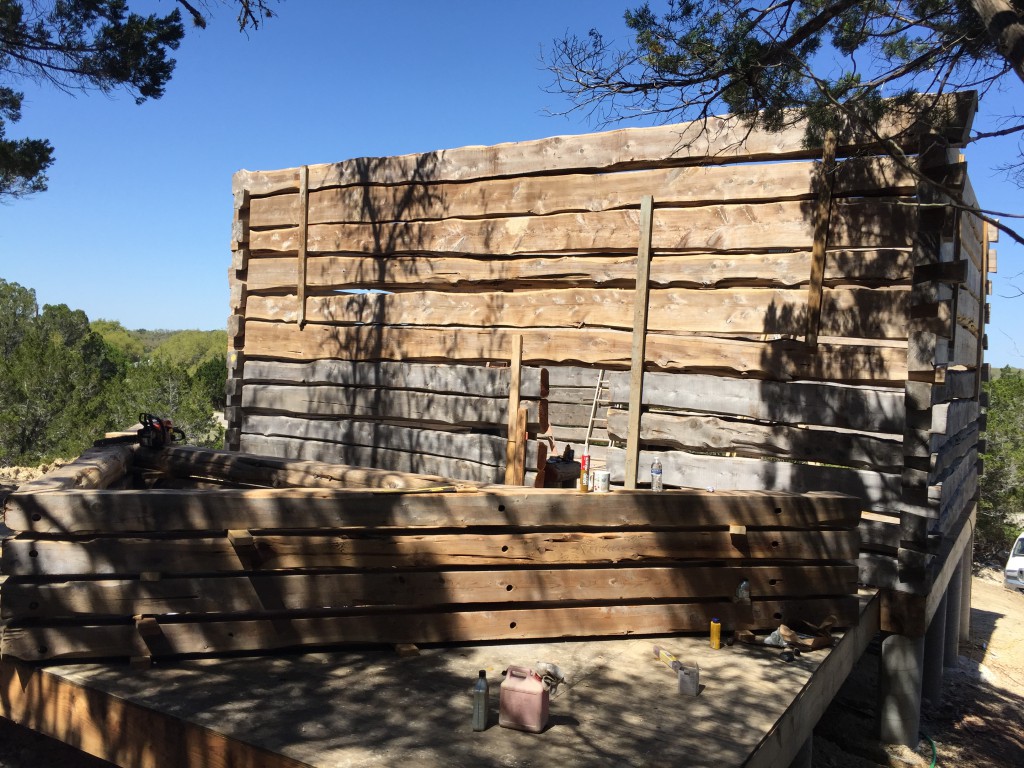
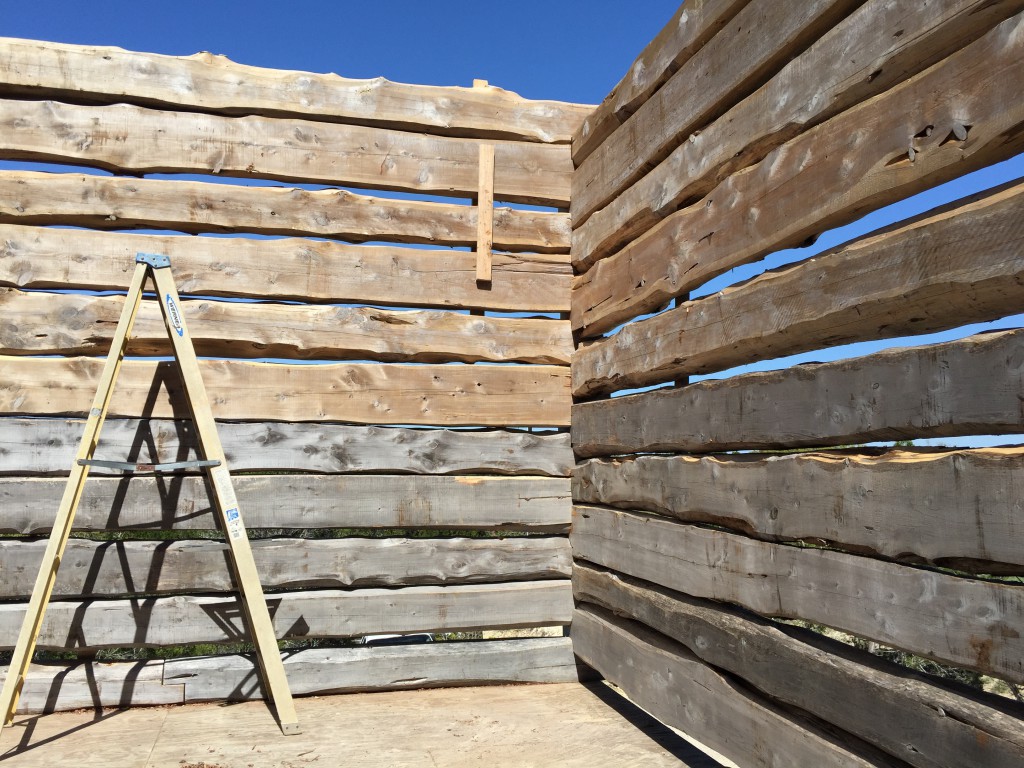
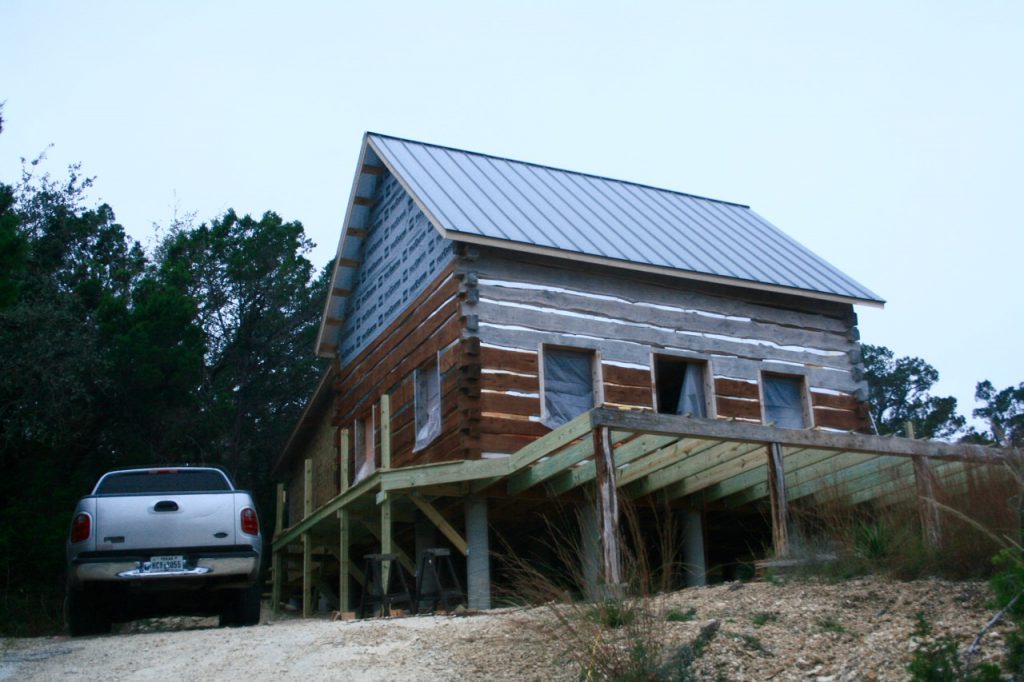
Finally part of the actual home is becoming visible; the walls are almost finished. In case you wonder; there will be windows and doors, but this is how log homes are built; walls first and then the 4 trusses will go up. From my bank account I can clearly see these walls are not paid by Mexico. But at least it’s finally starting to take shape.

The trees behind the house will keep the extension cool
Trusses from behind the house.
No, that tiny door opening will not be the final size, but for now it's the only way in.
No, that tiny door opening will not be the final size, but for now it’s the only way in.
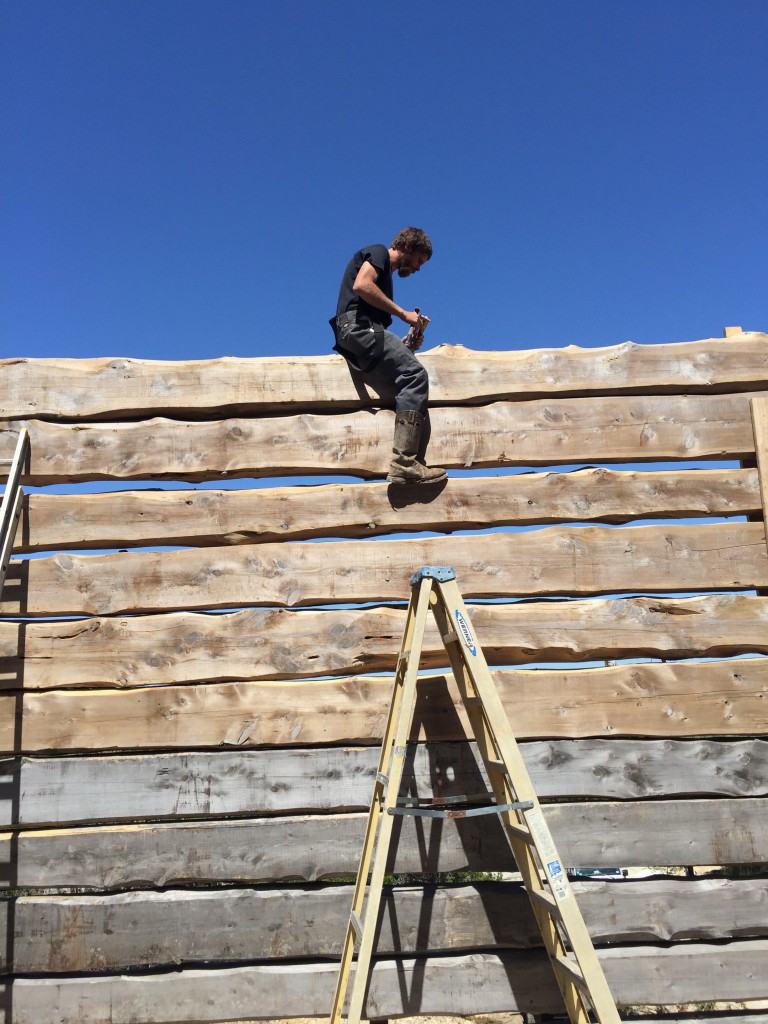
One should not be too scared of heights working on Log homes...
One should not be too scared of heights working on Log homes…
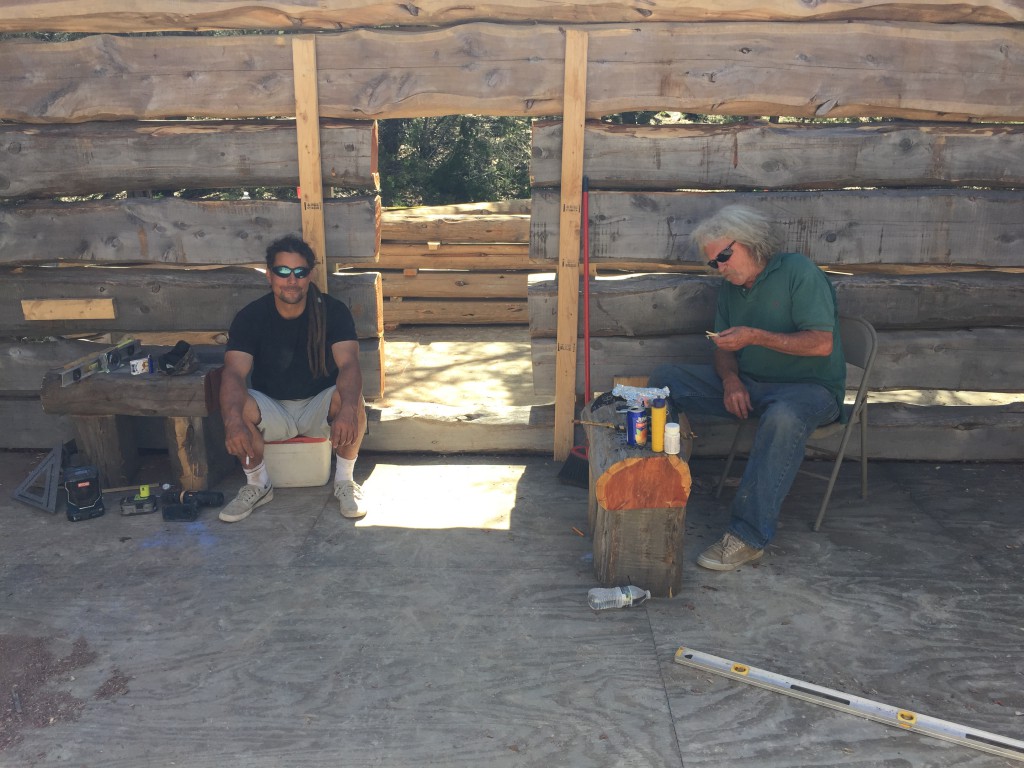
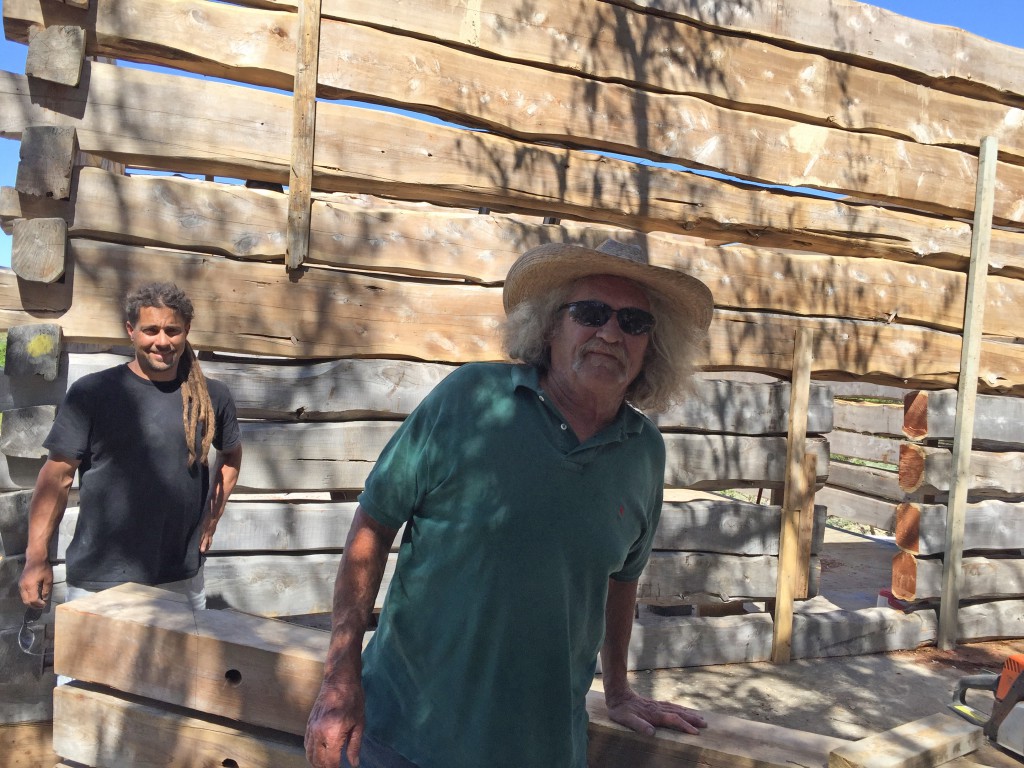
Neil and Dave posing behind the house.
The color difference between the lower and higher logs should be gone after Wood Renewer and Cedar coloured protection goes on.

Decked

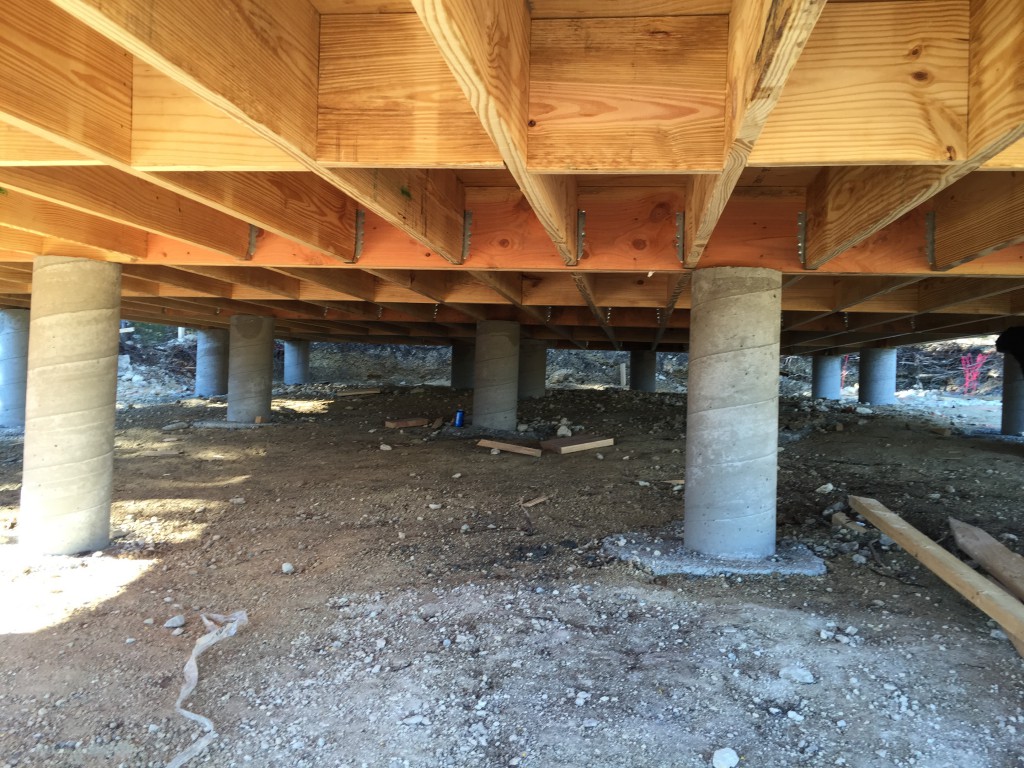
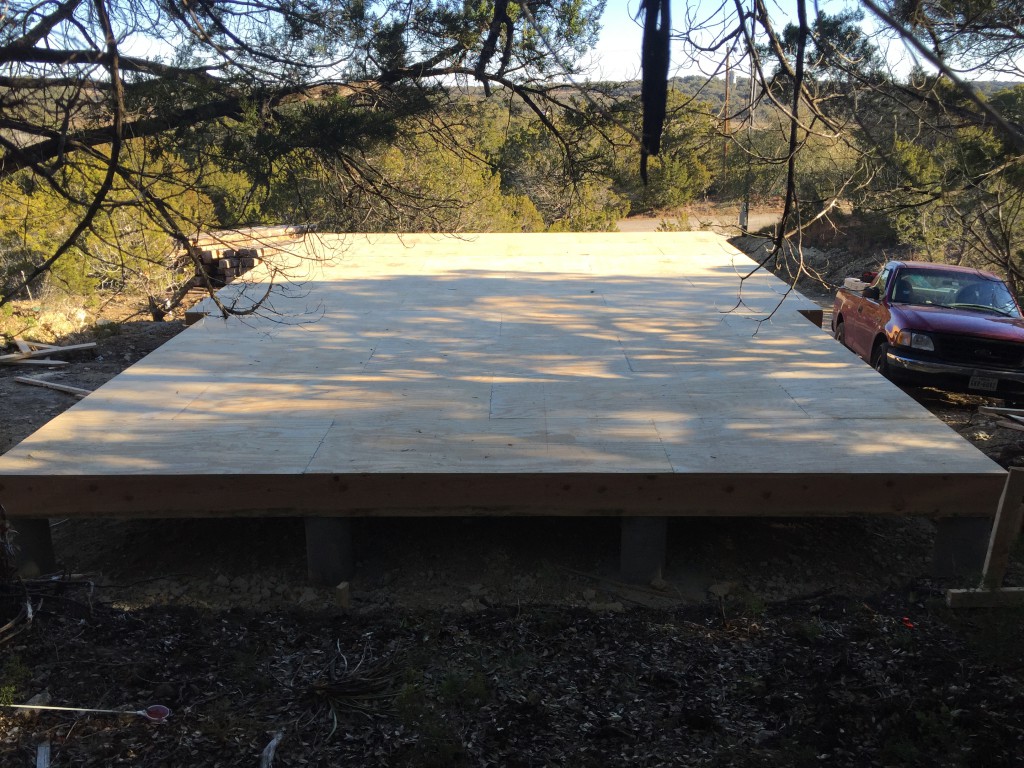
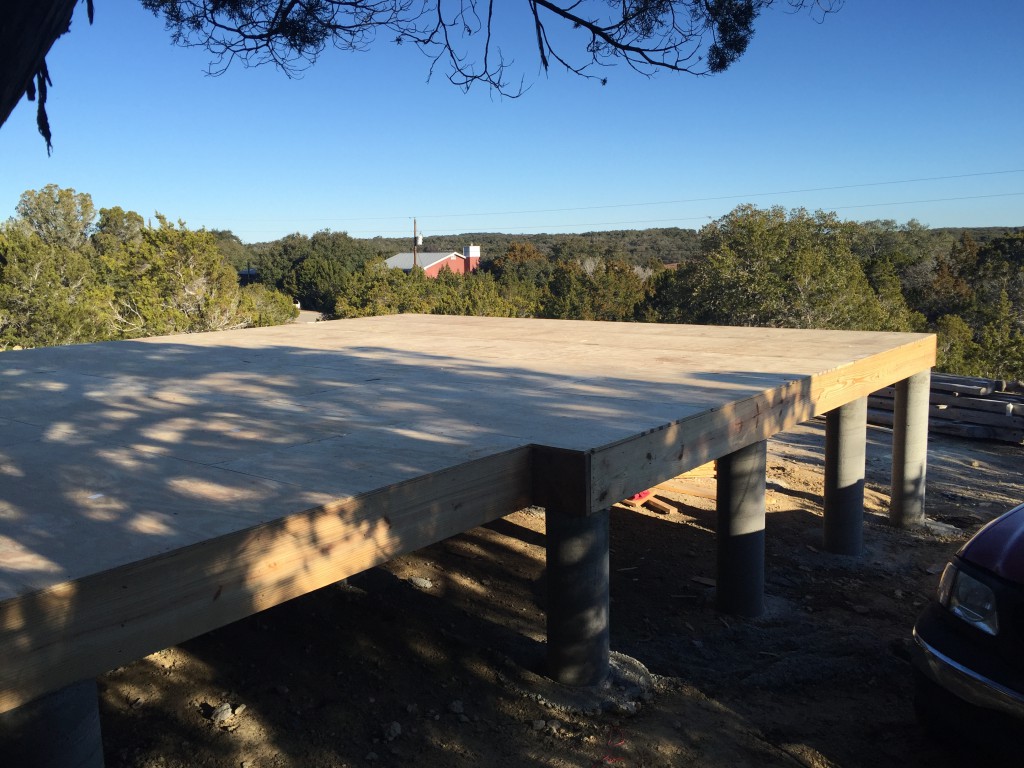
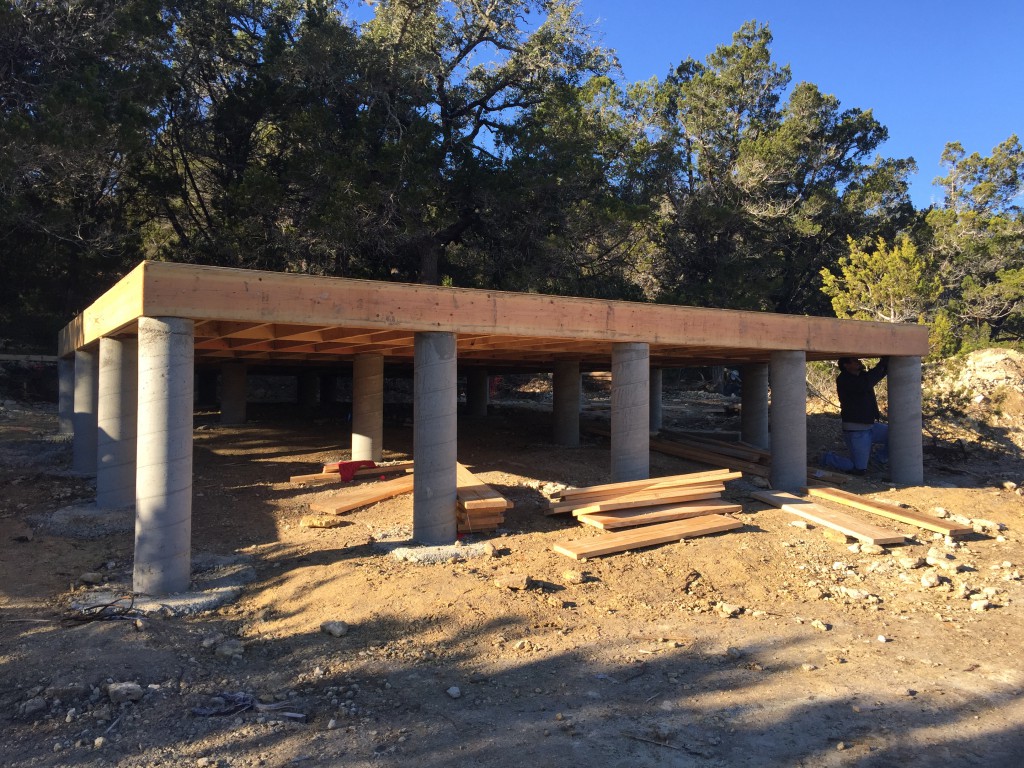
Having a Pier & Beam foundation has one little drawback; there is no default floor in-between the Piers.
Luckily, the builders have made a Deck , which is the basis for the final flooring.
IMG_7738


So now from higher up it looks like this;
IMG_7734


And from the side;
IMG_7735


Or from the front;
IMG_7736


I kinda like the way it looks; a lot better than a slab; imagine how much concrete would be needed to fill up all the space under the deck.
And of course, it is great storage place, for instance for logs for the fireplace.