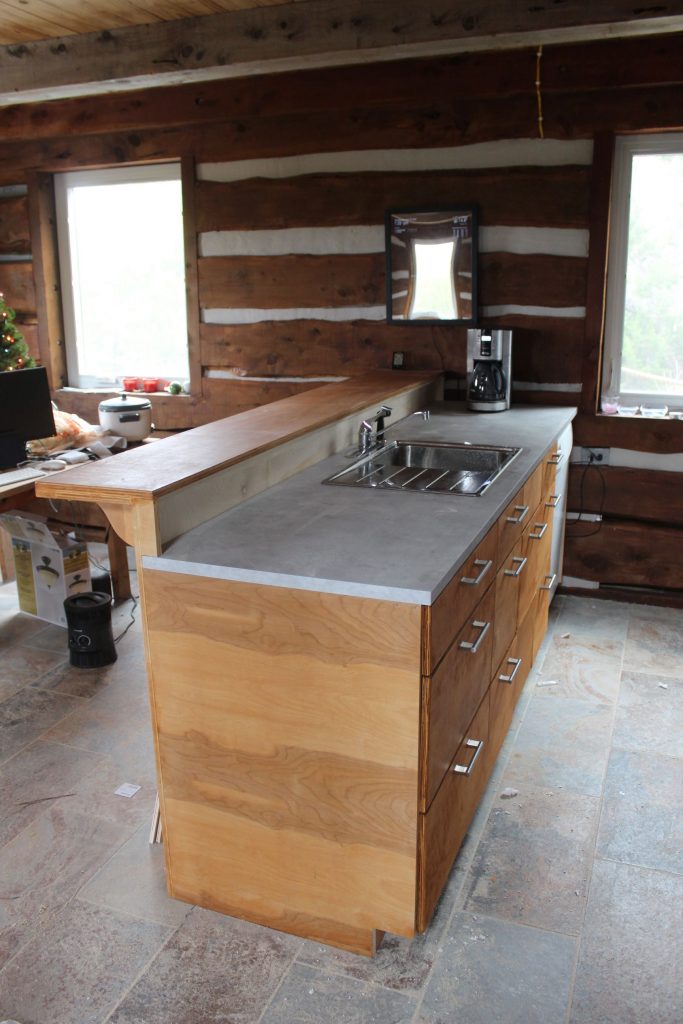
The bar top is Birch, stained. But even though it’s stained, it could easily get stained in a not so nice way by glasses, plates, spillage etc.
So I applied a two component clear resin to make it easy to clean and protect it.
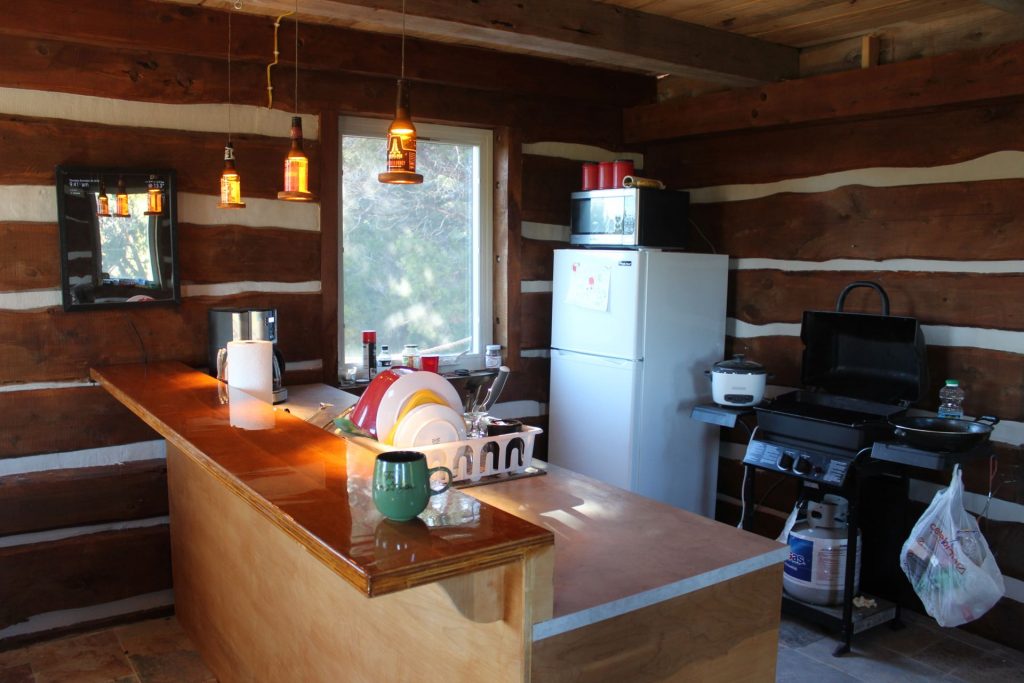
It’s now shiny enough to see your own reflection in it. It was n’t easy, as the temperature had to be 75- 80F (23-26 C).
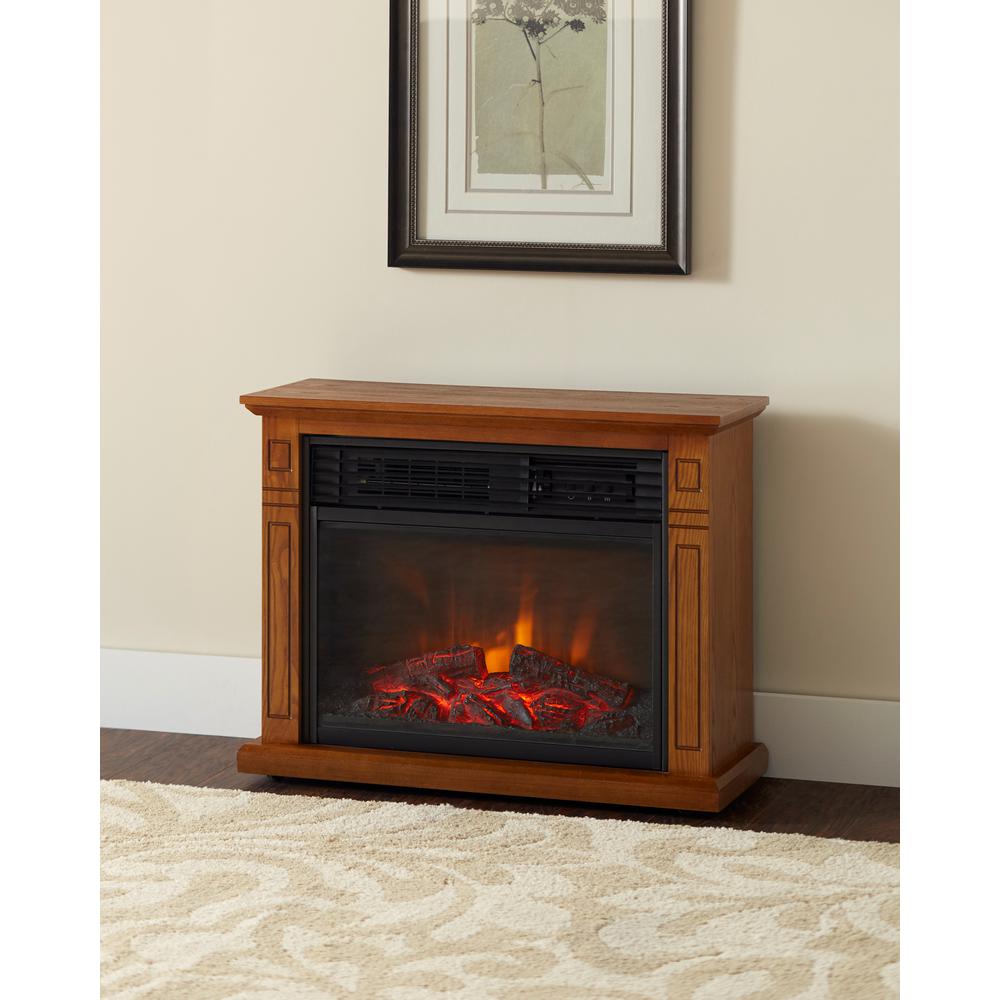
So to get to that temperature, I waited till a nice day and put both heaters on max to get it to 80.
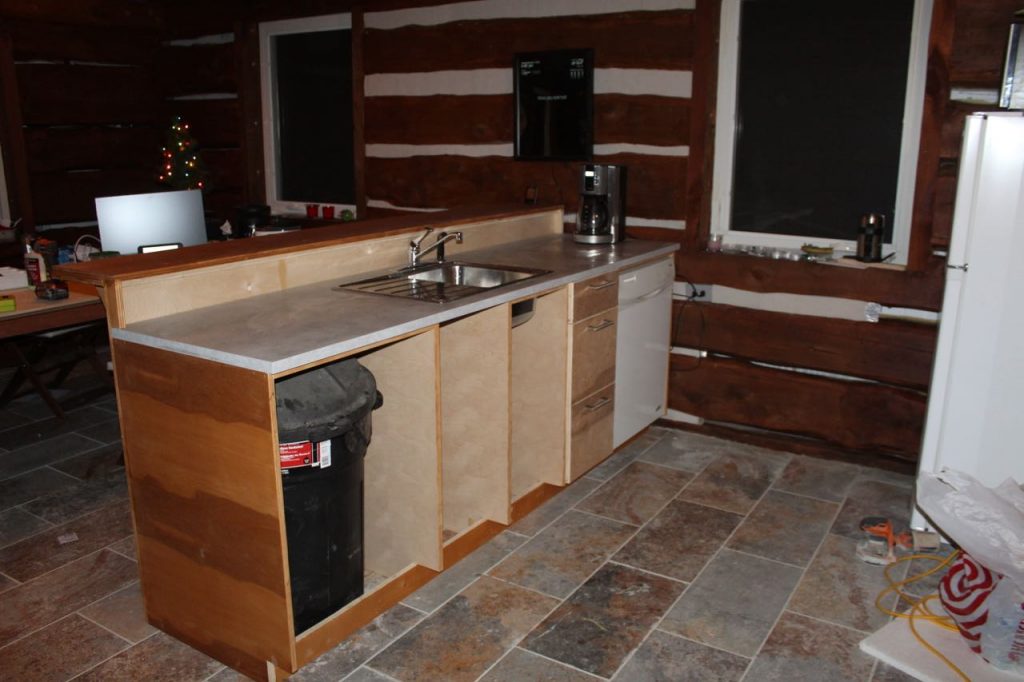
That worked well, but I got over ambitious and tried to also do the backsplash, as I had enough resin left.
Unfortunately, the resin was already curing too much, and I could not spread it well anymore. So the backsplash is a bit droopy.
I will redo that next time around.
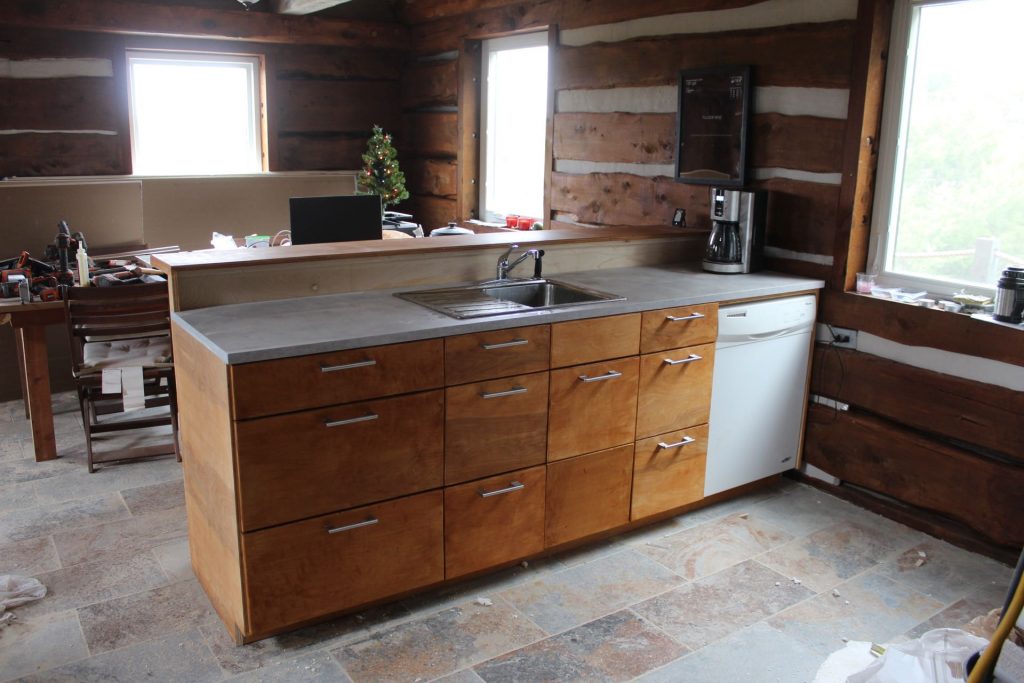
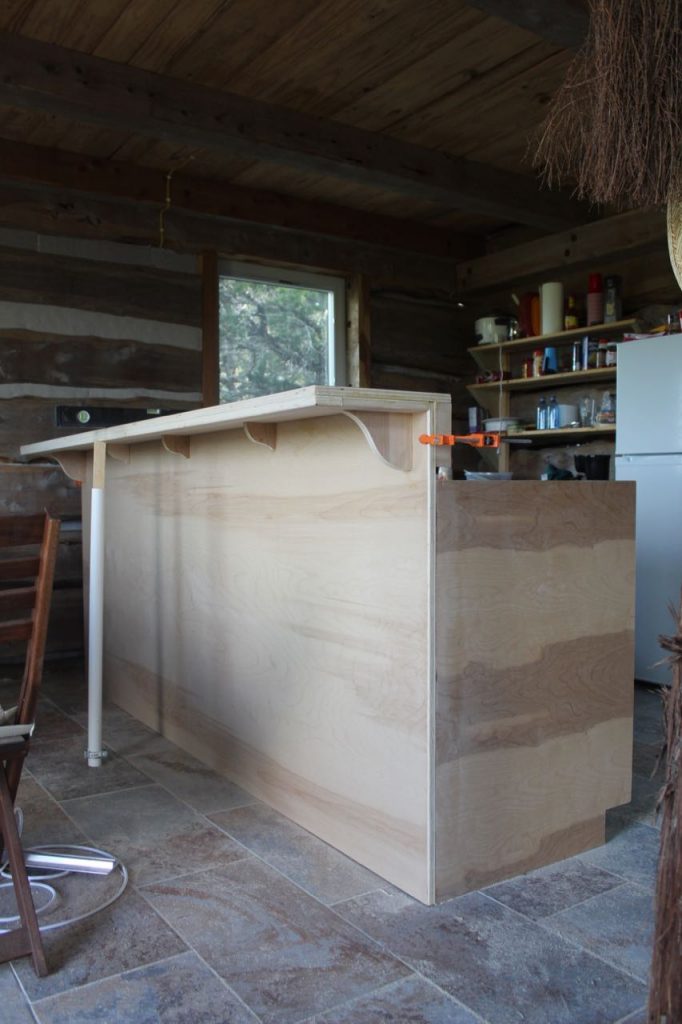
You may also notice that the walls behind the bar are now finished too; chinked and stained, with a power outlet for the fridge and microwave.