Category Archives: News

Cleveland Stove in action

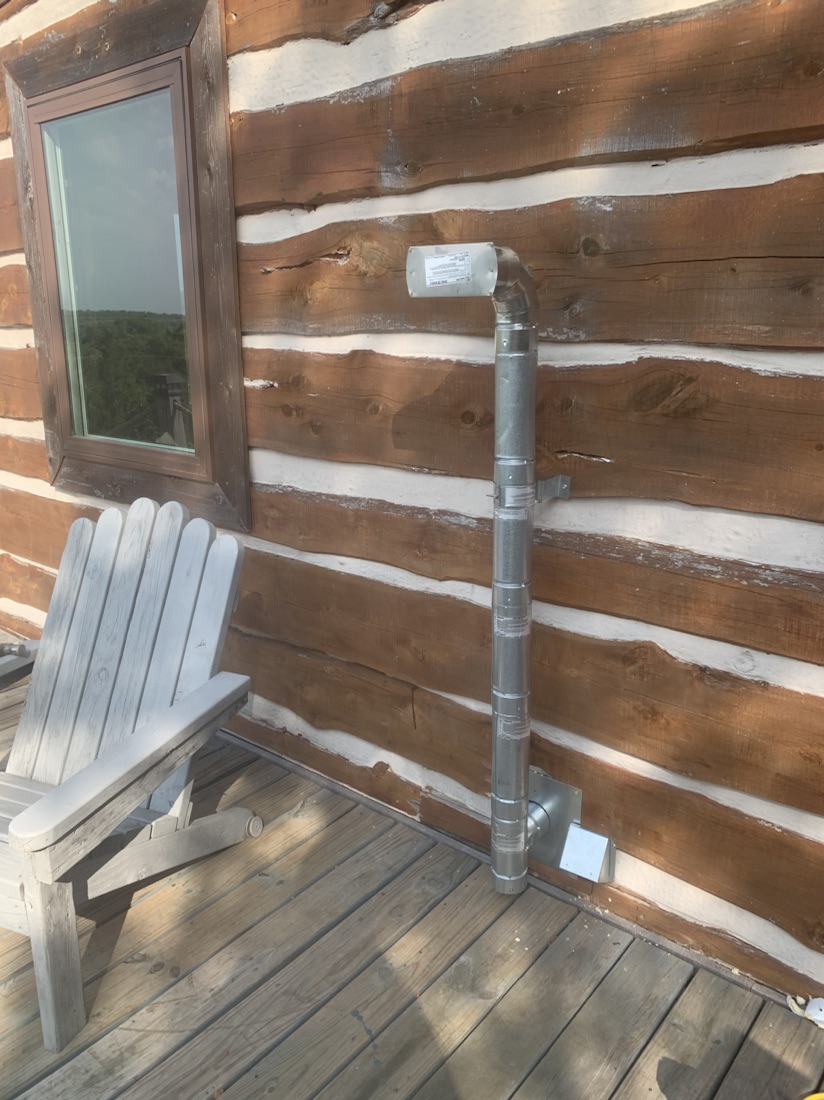
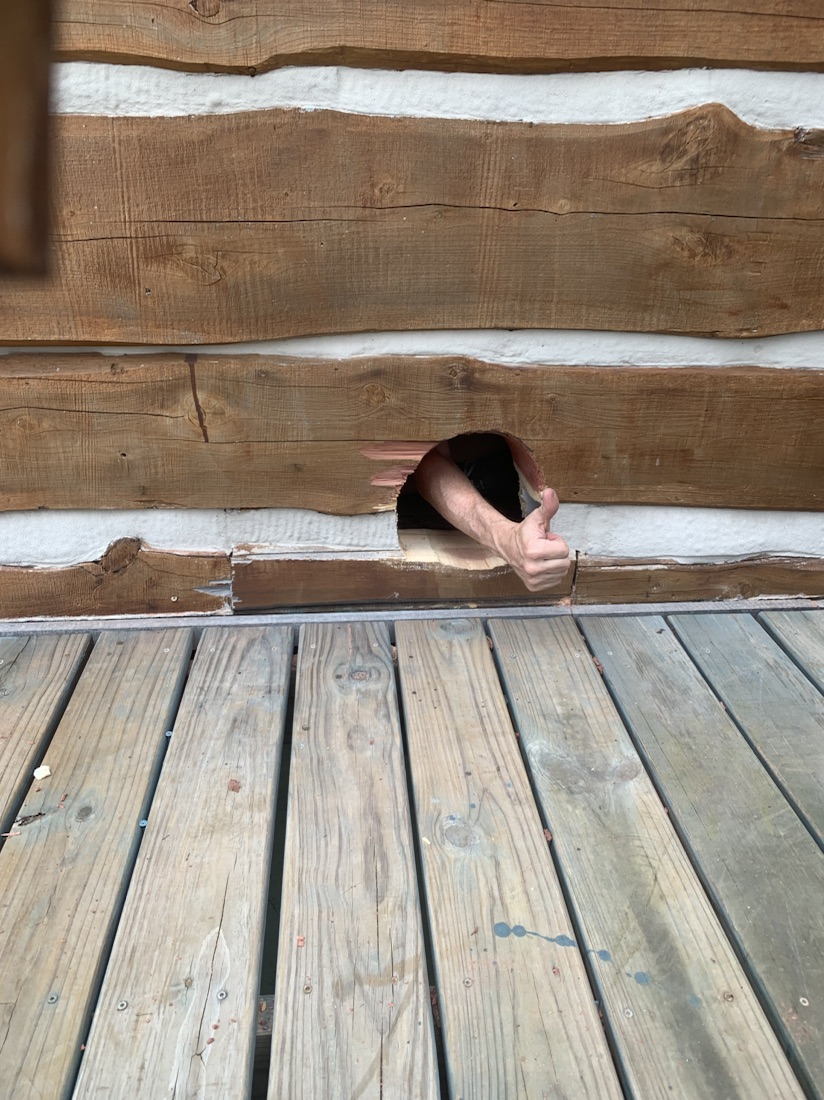
The pellet stove pipe kit arrived today and as I already had the hole in the wall, installation was pretty easy. On the outside it looks like this;

I may extend the pipe upwards a little bit, but this was taken when it was burning so you can see there’s not a lot of smoke. It actually smells quite nice as I’m currently burning Cherry “Fruity and Sweet” pellets that can also be used for the BBQ.

It took about 7 minutes to light up, which also has to do with the auger being empty when starting it

There’s a fan that recirculates living room air and passes through the hot parts of the stove. Right in front of it, it’s the best place if you’re cold.

As it’s 77 F (25C) in here and a little warmer outside I turned it off again. The fan then keeps running but the flames extinguish within a few minutes.

The only downside I can hear so far is the fact that the fan does make some noise, as does the auger. But I’m sure that when it’s cold, anyone will gladly put up with the noise in exchange for a comfortable temperature.

Pellet Stove Arrival

Today the pellet stove was delivered. It’s not installed yet, as the exhaust pipes are still underway, but this is how it will look;
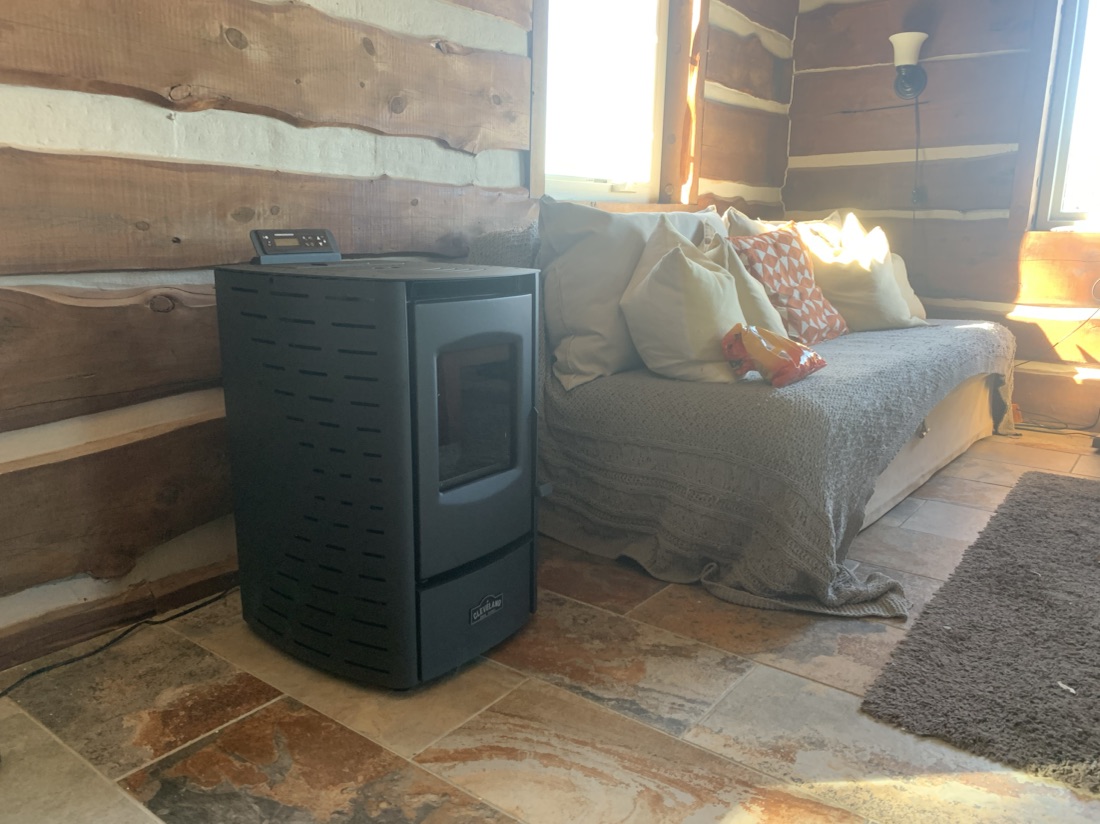
It’s not a huge one, but does come with a remote and an app, as it’s wifi connected. I chose this one because it’s compact and has the exhaust pipe low to the ground, so I don’t have to cut my way through the middle of a 7″ thick cedar wall.

It’s a little odd to be installing a pellet stove this time of year, but like they say; fix the roof when it’s dry, not when it’s raining.

The advantage of my tile floor is that it’s fire proof, so no need to put something under the stove.

The stove comes with a small fresh air hose, that will use outdoor air for combustion. The smoke exits the home through a thimble that runs through the 7″ log wall. A thimble is a double walled pipe to prevent heat coming in contact with the log wall. Once through the wall, the pipe will make a 90 degree turn up and end with a cap to prevent rain or birds entering it.

The big advantage of a pellet stove is that it burns cleaner than a wood stove, and doesn’t require a pipe that extends 3ft above the highest point of the roof, which in my case would be pretty high at around 12 meters. It’s also easier to start;

A simple press on the remote or the app will light it up and within 5 minutes the flames are full.

Then every x seconds, some pellets are dropped into the firepot by an auger.

It’s a little safer and a lot cheaper than a wood fire place, yet has a real fire. Fans blow air that passes the hot sides of the stove, and make it very efficient.

Monday I’m expecting the thimble and pipes, so then I can install it.
Sliding Smoothly

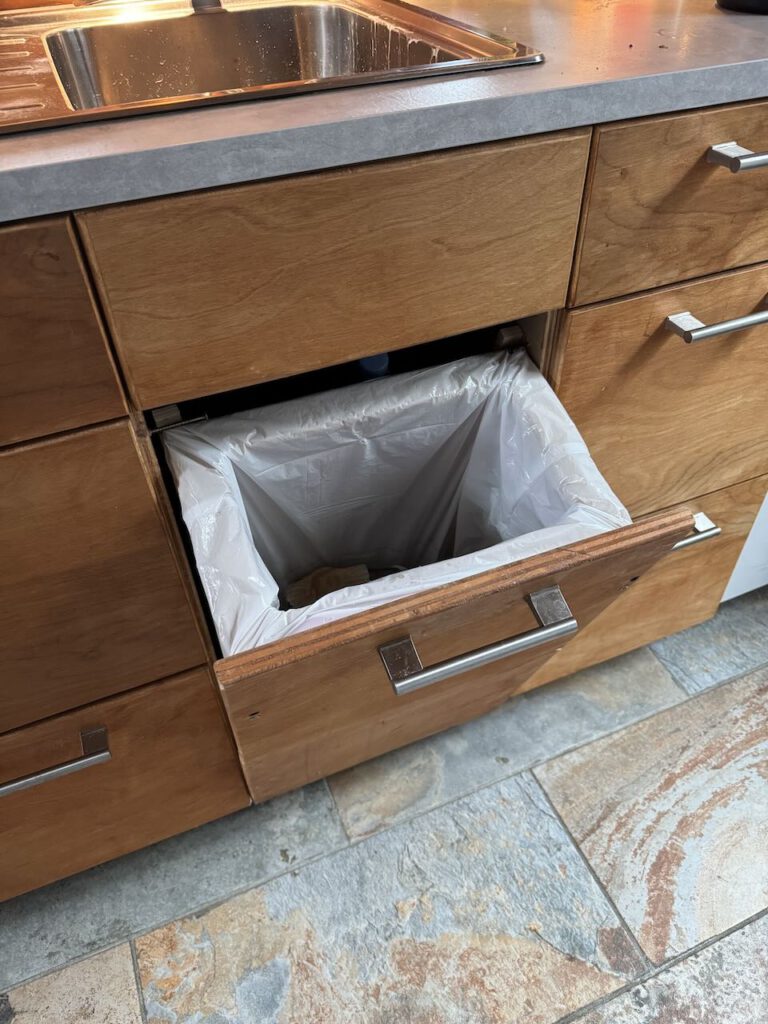
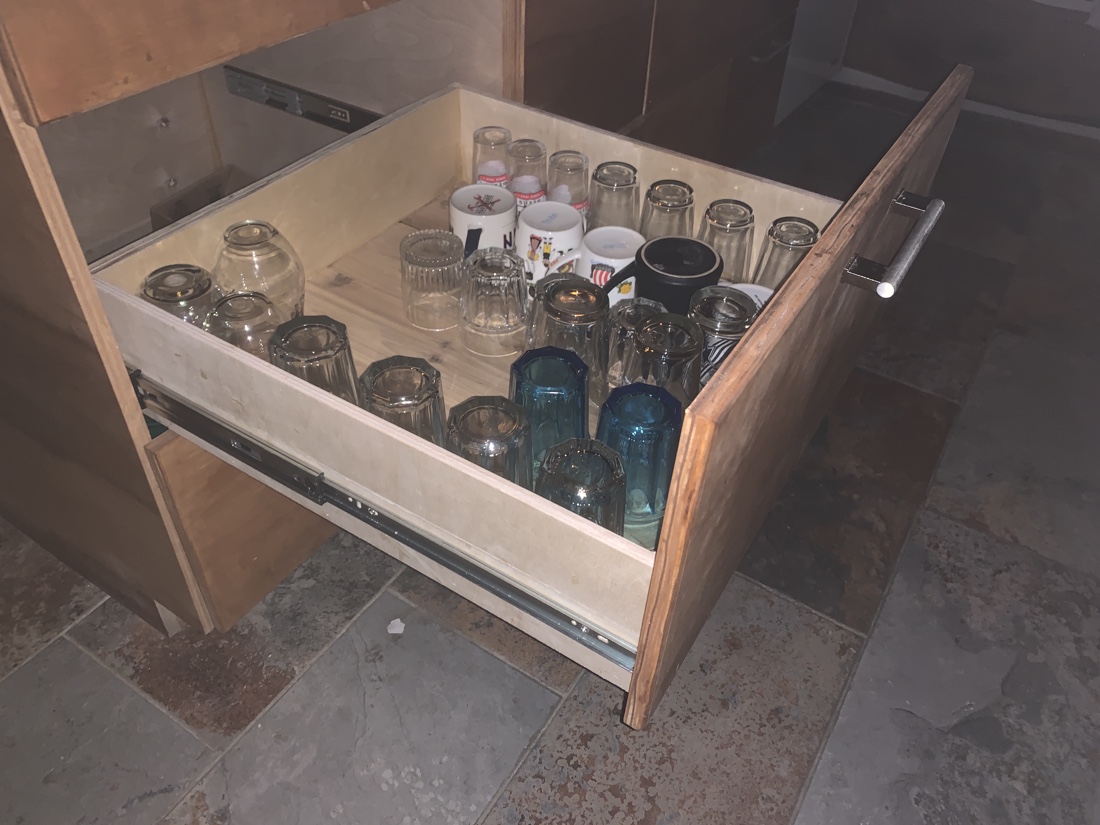
When I made the kitchen, the only drawer slides the local McCoys hardware store had were flimsy non telescope, non soft close, non auto close.

The result was that every time I arrived here after not being here for a few months, there were one or more drawers completely out of their slides.

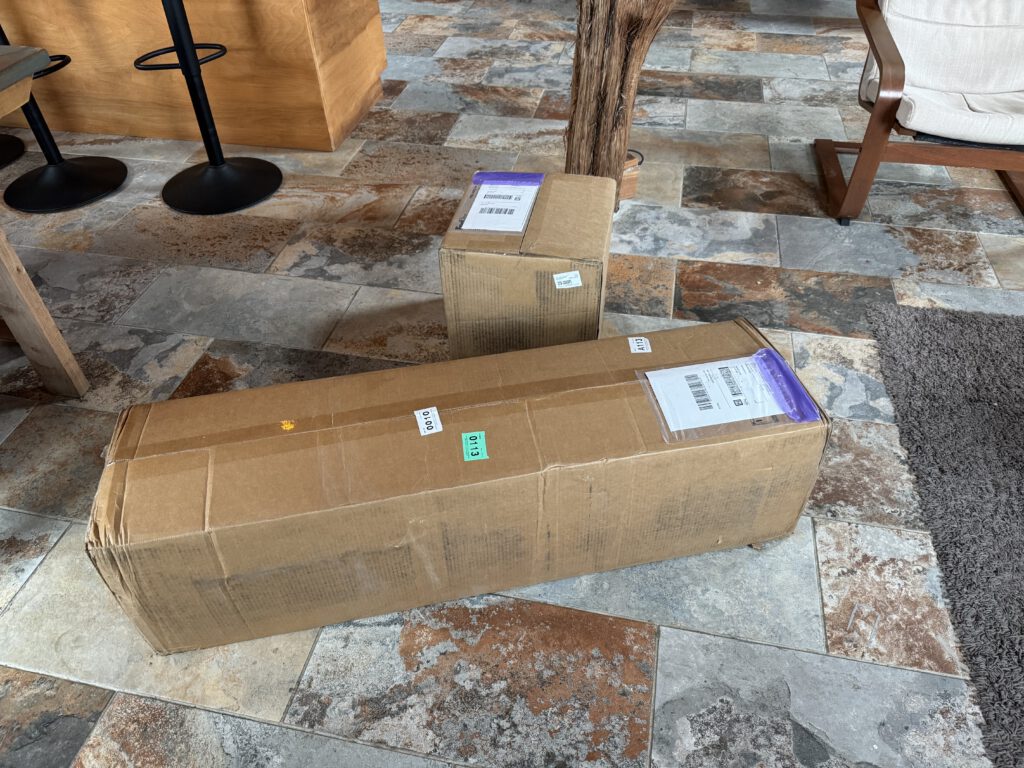
So today I received and installed the first 3 sets of telescope soft auto close slides that I ordered from Amazon. Now the drawers open fully, can take any load (within reason) and won’t get damaged by closing hard.

I’m sure guests will appreciate drawers that work. I know I was always annoyed when I had job sliding drawers upon arrival. Especially since fixing the old drawers slides took only 5 minutes.

But these are hopefully sturdy enough to withstand some abuse.

Pretty Cool šŸ˜Ž

Ozuye has always been a pretty cool place, in terms of what it’s like. As of now it can also be cool again in terms of temperature.

Whilst outside it’s 100F (36C) the temperatures inside are cool;

You’ve guessed it; the missing line set did arrive today after all, and a few hours later, both new AC’s are up and running.

The picture above is a screenshot of my app that now can control all 3 AC’s from around the world.

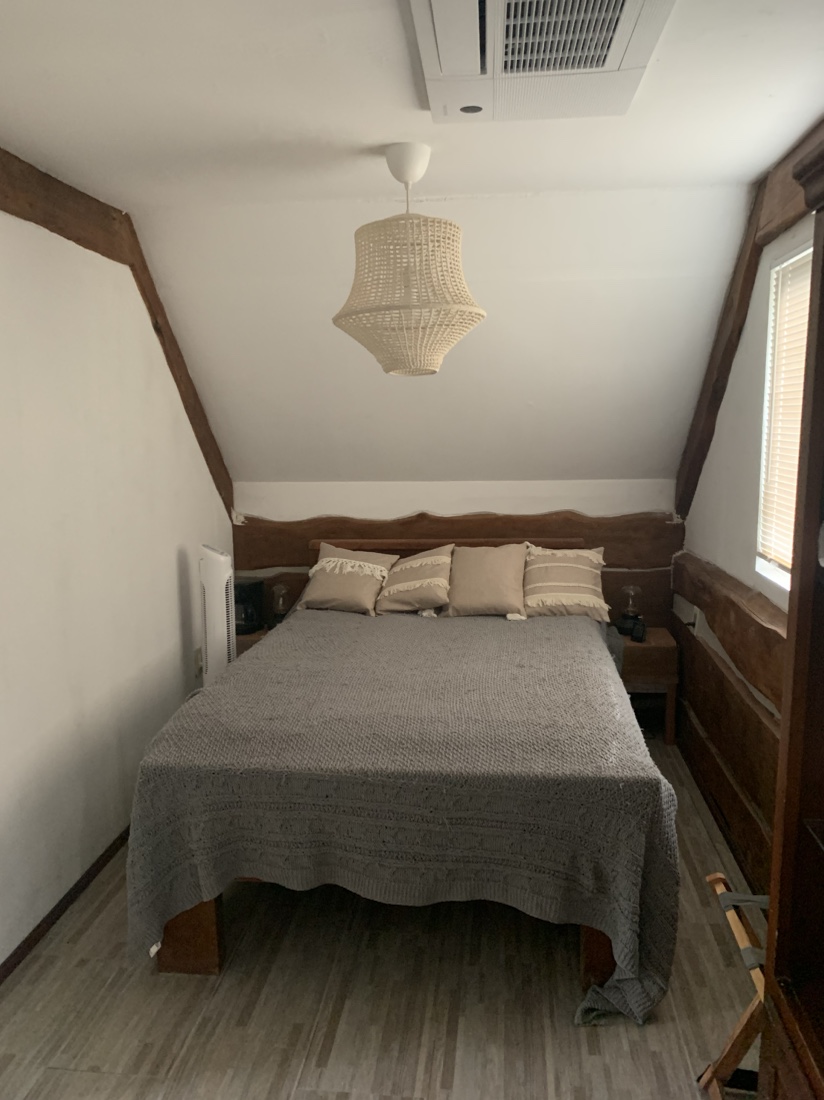
The upstairs bedroom ceiling unit is fairly quiet, although I do hear a little hum.

The new unit replacing the broken one in the master bedroom is quiet and works pretty well too.

For the first time this week the great room is the warmest instead of the coolest šŸ˜Ž

The AC upstairs can also help cool down the great room if needed by keeping the bedroom door open. The same applies to the upstairs en-suite bathroom.

Iā€™m very glad that my AC install trip worked out well.
The next few days I will test and see if I can integrate them into the Siri smart home environment.

Upstairs Ceiling AC installed

The ceiling unit is now connected to the outdoor unit with both the line set and electrical cable. The water outlet is connected to a hose that runs down to under the house.

The ceiling plate is also installed.

As you can see, the air filter is in the down position; it has a built in lift that lowers the filter for easy cleaning access. My ceiling isn’t that high, but it’s a cool feature.

Outside, the line set and electrical cables are also installed.

The only thing left is to open the valve on the condenser to release the refrigerant, but I probably won’t do that until I have also installed the master bedroom indoor unit.

And then after a final check for leaks, the pipes can be wrapped up to prevent sweating.

Pretty hot šŸ„µ

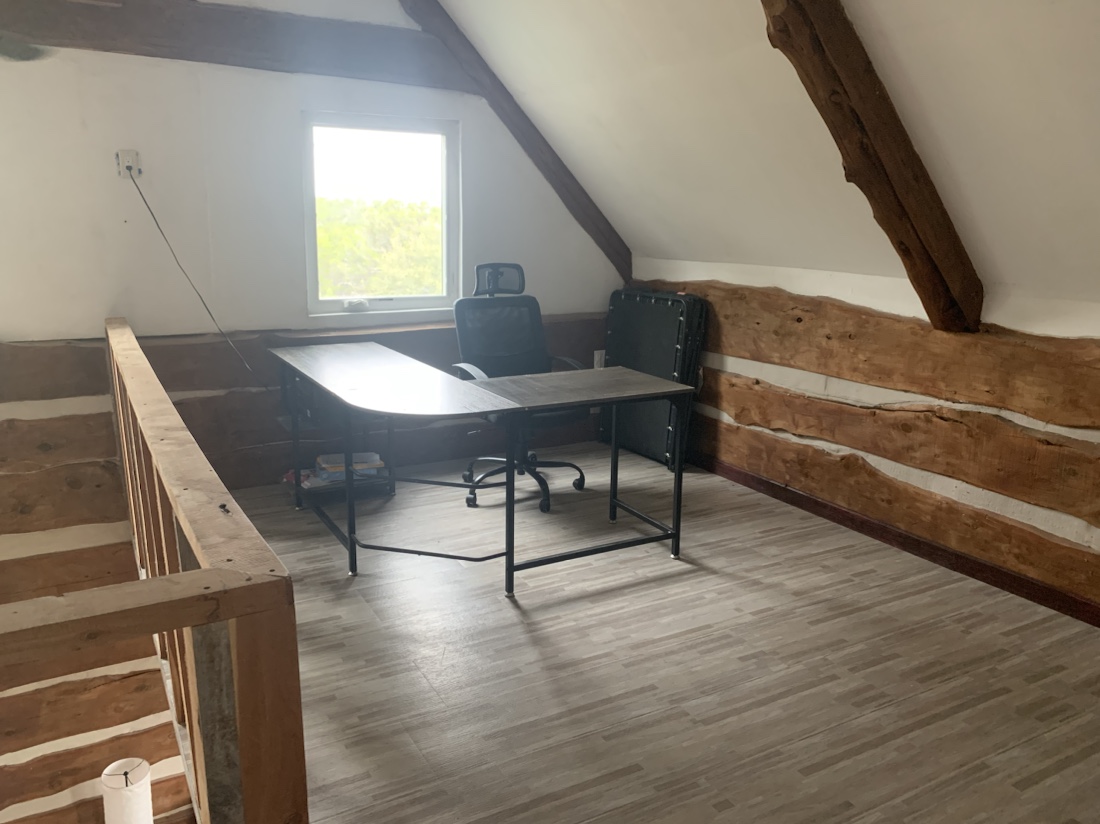
With my new laser infrared thermometer I can measure the temperature of any surface. The attic upstairs goes up to 104F (42C) even though outside it’s “only” 93F (34C)

So I postpone pulling the line set up there until tomorrow morning.

And some other time I might install a gable louver vent in the attic, so that the hotter than outside air can flow out.

The great room AC still works pretty well; the temperature at the air outlet is 55F (12C)

Ceiling Unit mounted

As the upstairs bedroom is fairly small, and there is no neat way to run the lines from the indoor unit to the outdoor condenser, I opted for a ceiling unit. The downside is that is bulky, and heavy. They recommend 2 people to install it, but since I haven’t been able to clone myself and it’s do it YOURSELF, I thought of a safe way to get it mounted. Using a climbing rope which I attached to the 4 hoist points, and a pulley screwed info the rafter, I hoisted the unit up, secured the rope and then climbed up to get it supported with some 2×4’s. Then I could detach the rope and shift the unit into place. Finally it’s secured into the ceiling joists, which air had to add, as it needed 16″ spaces joists, whilst mine are 24″.

There will be a ceiling cover mounted later, but this was the most challenging part.